It's getting to be that time of year again...the season of wedded bliss has begun! With all of the spring and summer weddings, bridal showers are sure to follow. Today on Studio 5, I showed some fun ideas for combining the hot mason jar trend with the typical bridal shower.
To create your own, mason jar event, start collecting jars in varying shapes and sizes now. You will want a good collection to get started with. If you don't have a stock and want to save some cash, try looking for jars at thrift stores, they usually have a great variety. A good spool of twine or jute is also a must for a jar party. Nothing goes better with a jar than a bow of twine!
To make the whole event easier for you, I have included all of the jars, labels, and tags that I created for the shower. Please feel free to download them and enjoy using them in your creations! I also want to give props to Sweetly Scrapped Art. Her darling mason jar clip art provided the base for my tags and titles.
Every party starts with a great invitation. I created two "Mason Jar" themed invitations that can be easily recreated for your event.

The first invite option is perfect for a smaller group of friends that live nearby, so you could drop an invitation off rather than mailing. This invite starts with a clear mason jar with a few coordinating treats inside. I printed an invitation on white cardstock and sized it to fit nicely in the jar. I then added a tag, twine, and ribbon.
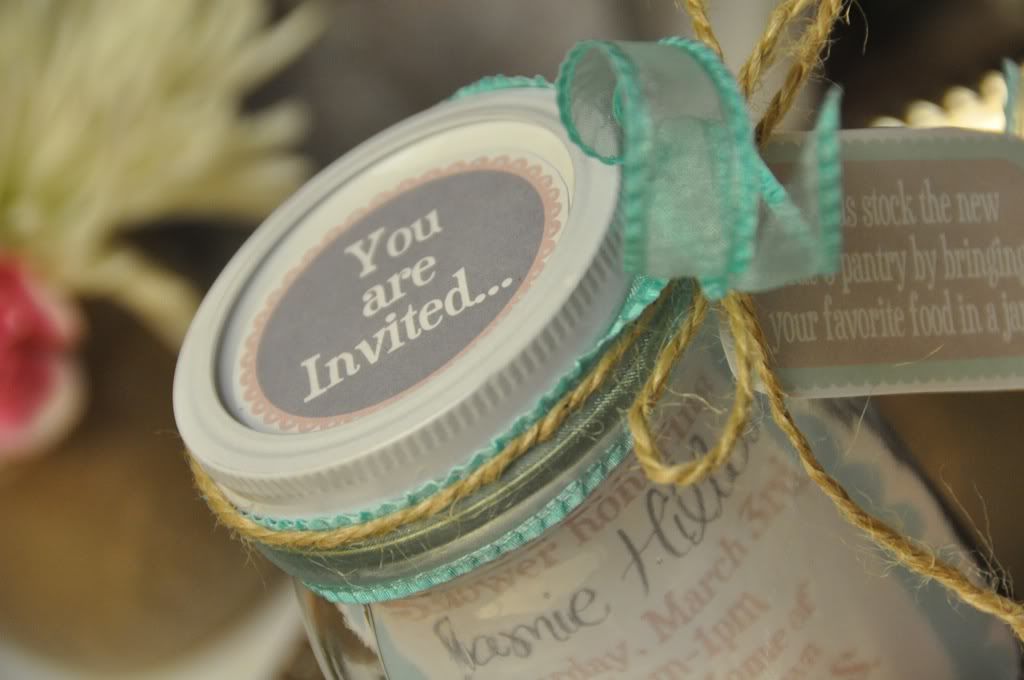
I topped off the jar with a circle tag. Simple, easy, and ready to deliver!

The second invitation is great for larger parties where invitations need to be mailed. To create this invitation, print and cut the plain jar outline on vellum paper. Create an invitation as a label and glue it to the front of the vellum jar. Add twine and a tag to the lip of the jar.
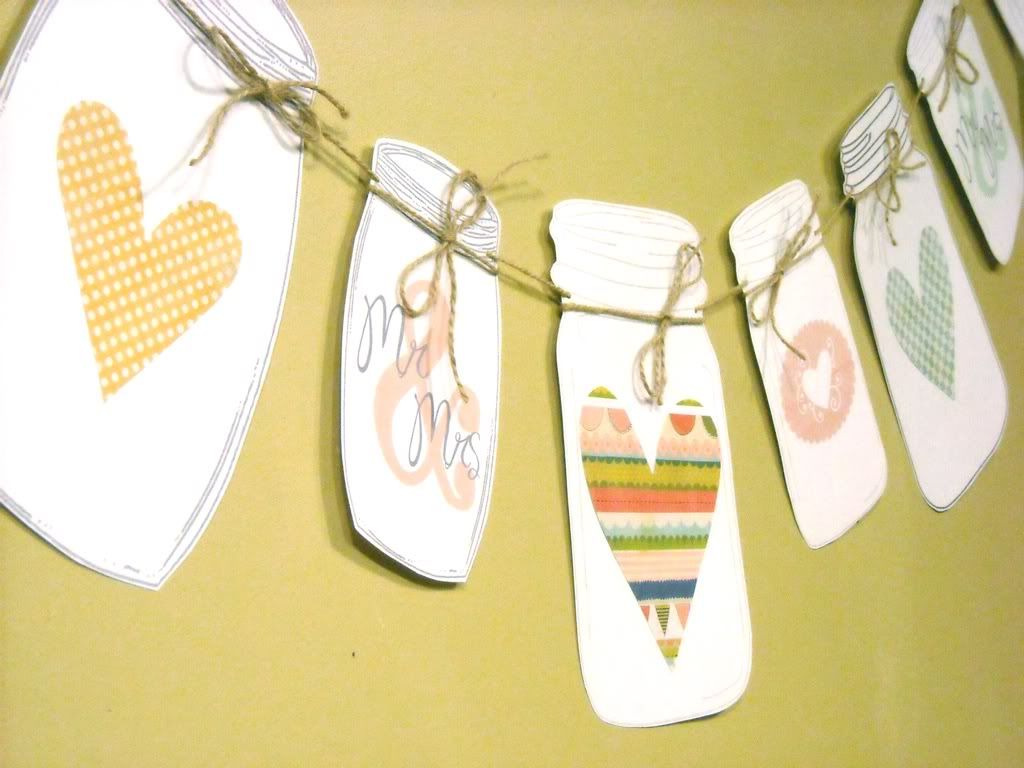
Once you've got the invitations delivered, it's time to decorate. I made a mason jar banner to hang above the serving area. You can easily download, print and cut the mason jars I used and create a banner of your own. So easy!
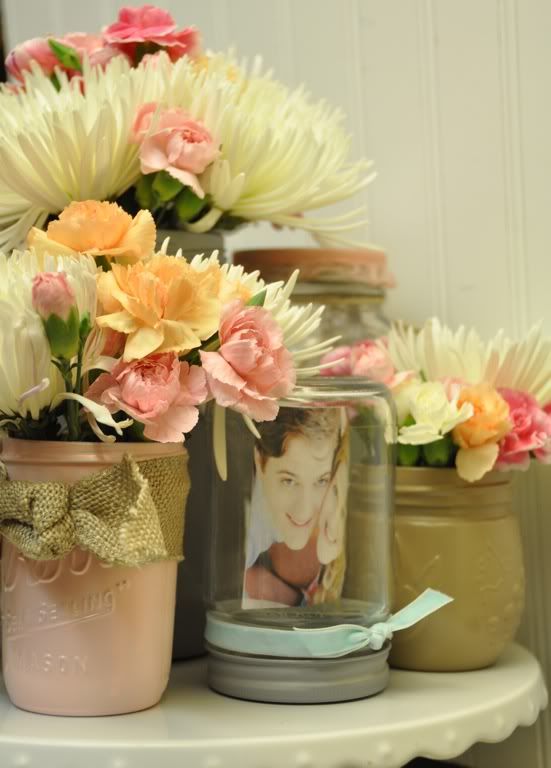
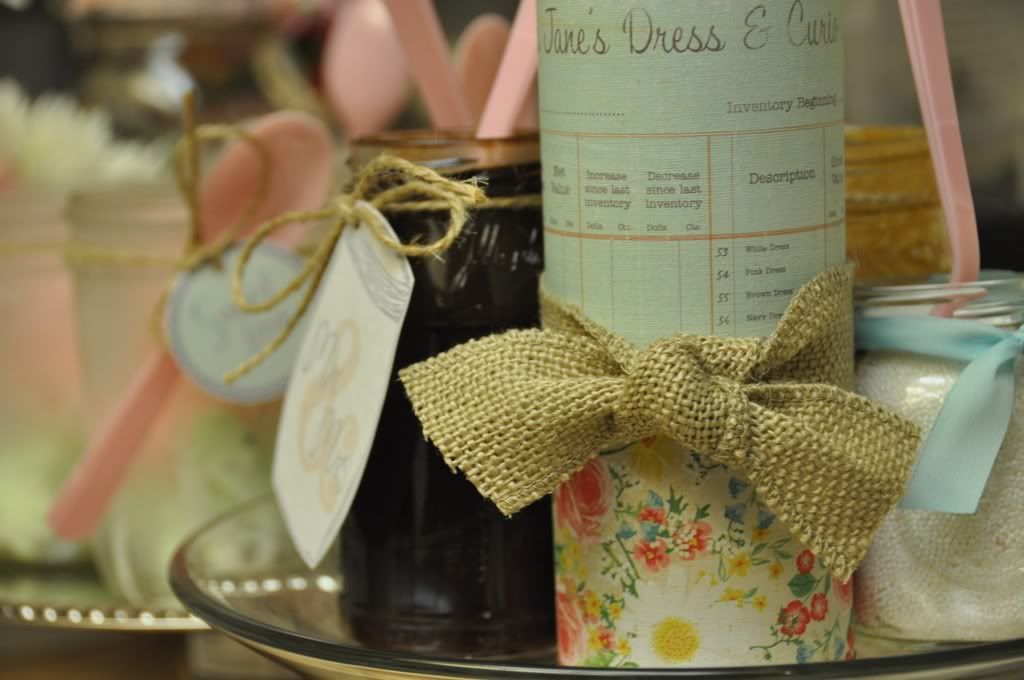
For the table, I created a used a variety of jars and a cake plate to create an eye catching centerpiece.
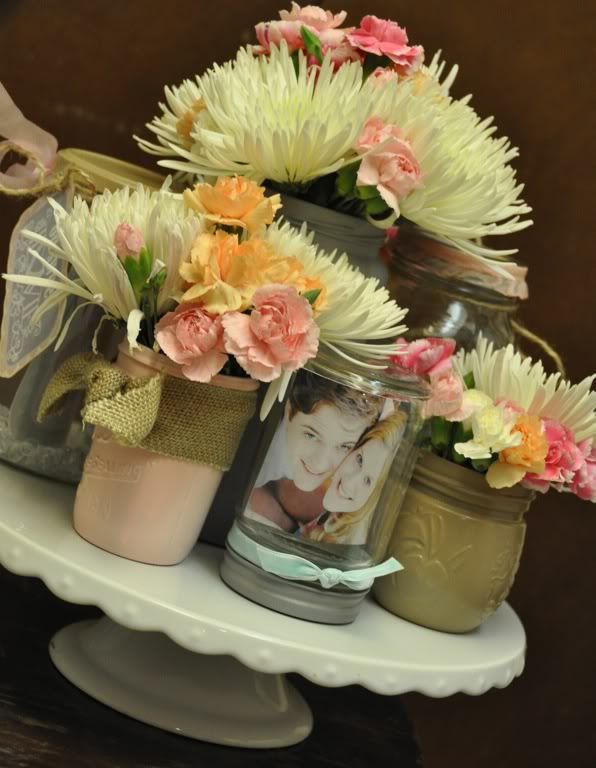
I began my centerpiece design by arranging a variety of jars on my favorite cake plate. Once I got the levels right, I started thinking about each jar. I decided to add some color by spray painting a few of the jars in soft, spring colors. Then, ribbon, burlap, flowers, beads and pattern paper finished off the project.

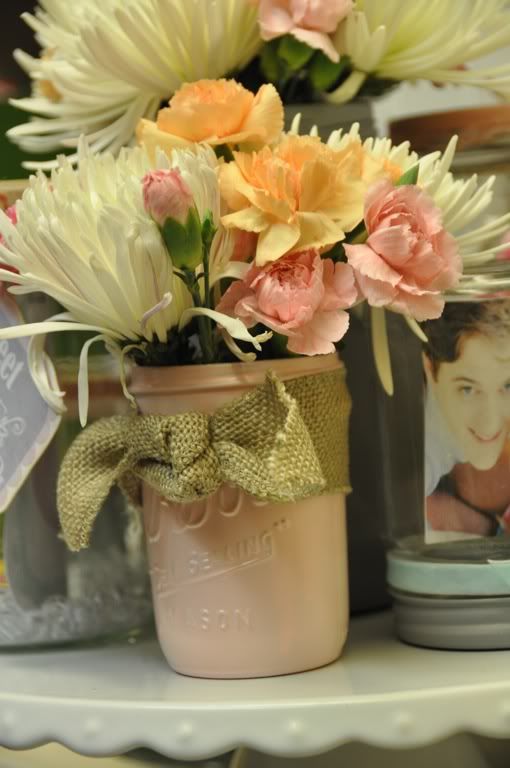
When spray painting jars, be sure to start with a good primer. Then, be patient. Apply layers lightly and allow to dry before applying another layer of paint. This will prevent dripping. *Hint*matte finish paints tend to be more opaque than glossy.
I also created an "Advice Jar" where guests could write advice for the new bride on slips of paper.
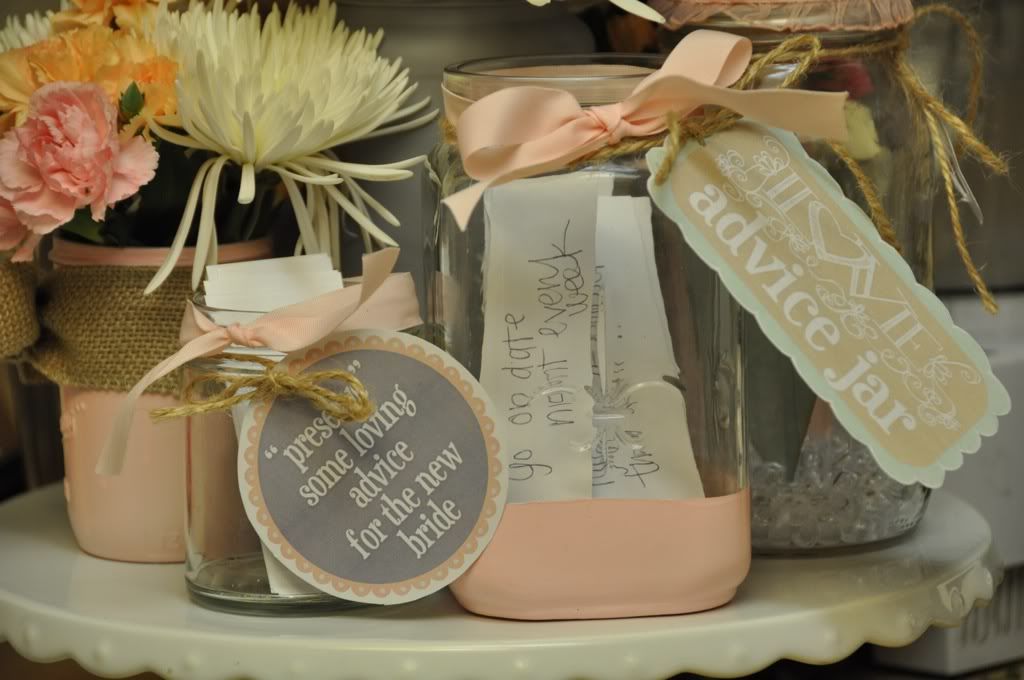
I painted just the bottom of the advice jar by masking off the top portion. I love how it turned out!
After guests have arrived at the shower and seen all the beautiful decorations...they are going to want to eat! Stay true to the mason jar theme by serving food from mason jars.
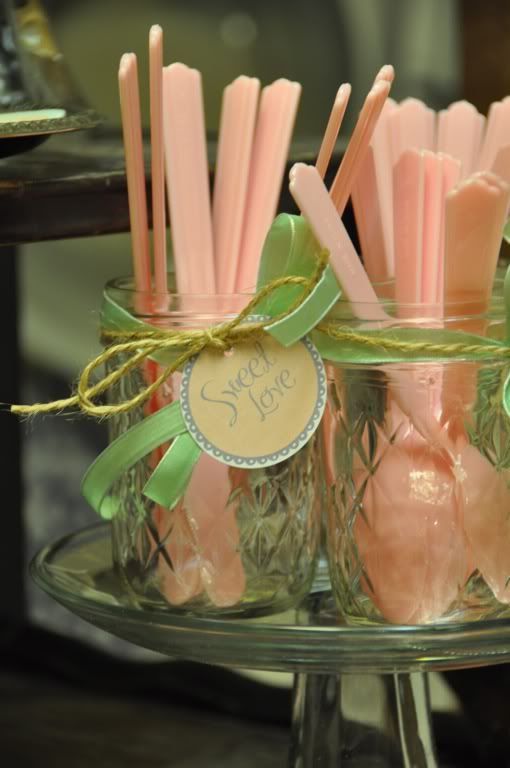
Silverware is easily accessible from darling jelly jars.
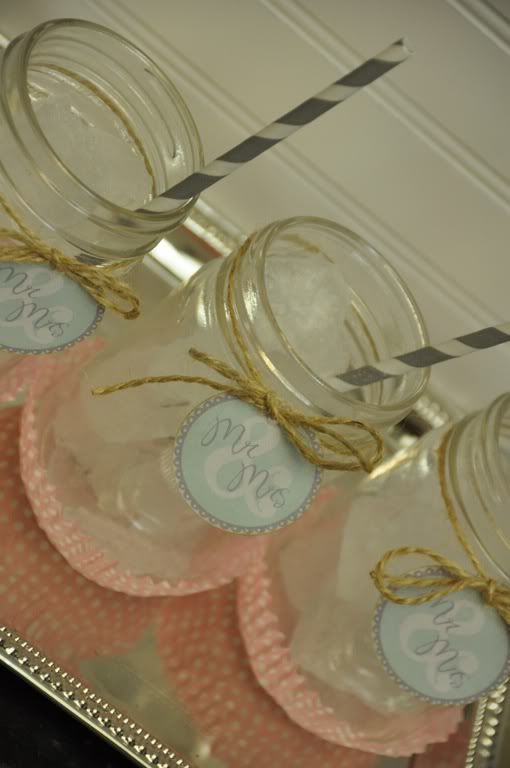
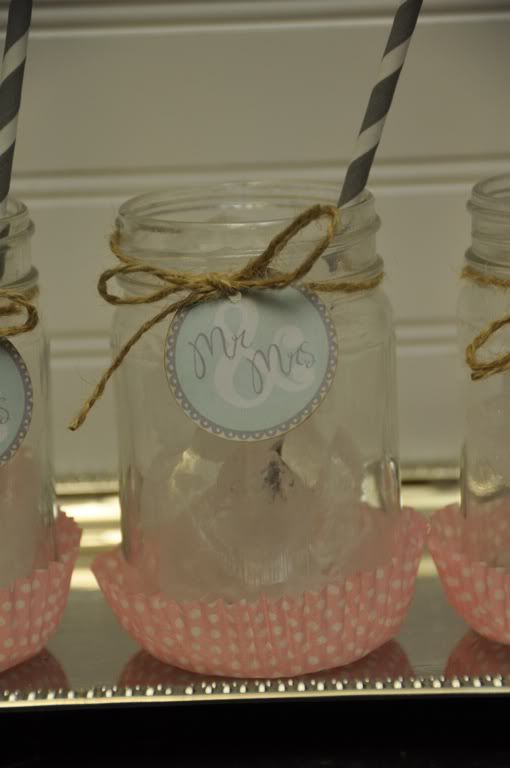
Mason jar cups are made brighter by placing them in a coordinating cupcake liner. Place each cup in a liner and squish the liner around the cup to create a good fit.
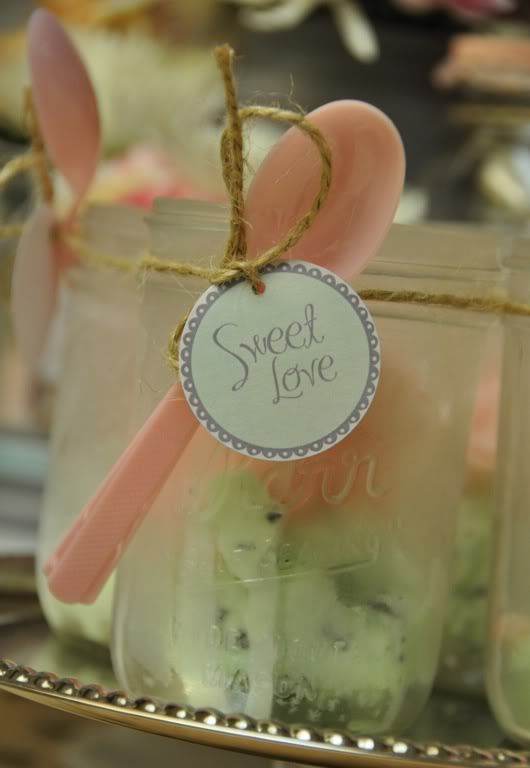
Consider serving dessert out of small mason jars as well. I created a mini ice cream sundae bar using jars, twine, and of course, my printable tags.

Look for toppings that come in jars. After removing the original paper wrapping, decorate topping jars with tags and ribbons.
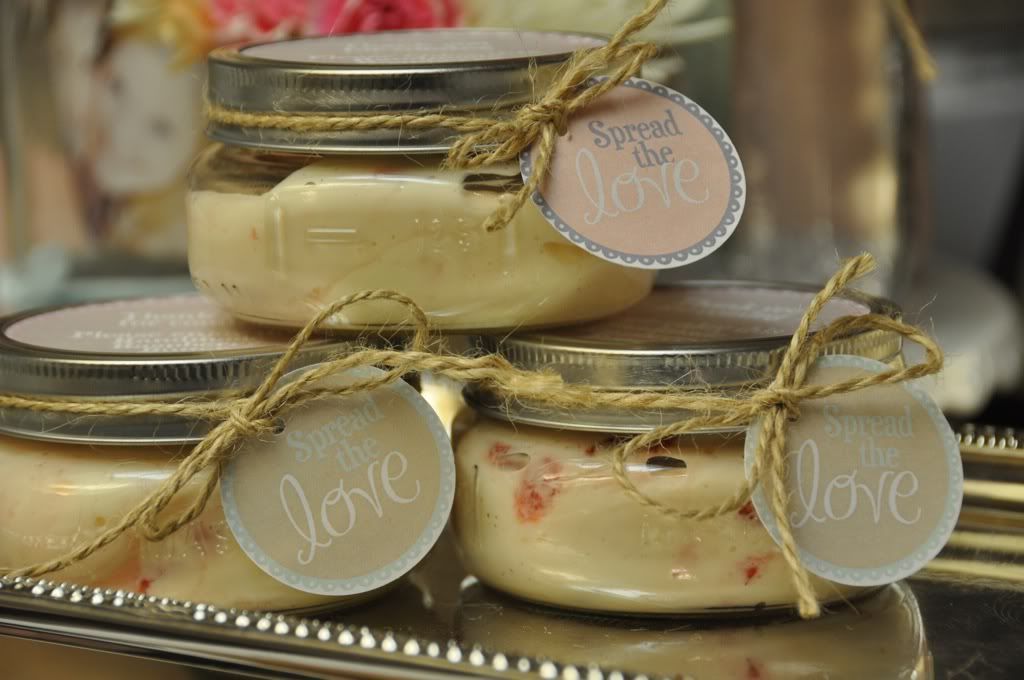
Thank guests for attending the shower by offering a favor in a jar. I made handmade raspberry butter and attached a "spread the love" tag to my jars.

I had so much fun designing and creating with mason jars. Enjoy exploring what you can do with the variety of sizes and shapes available. Happy crafting!
No comments:
Post a Comment