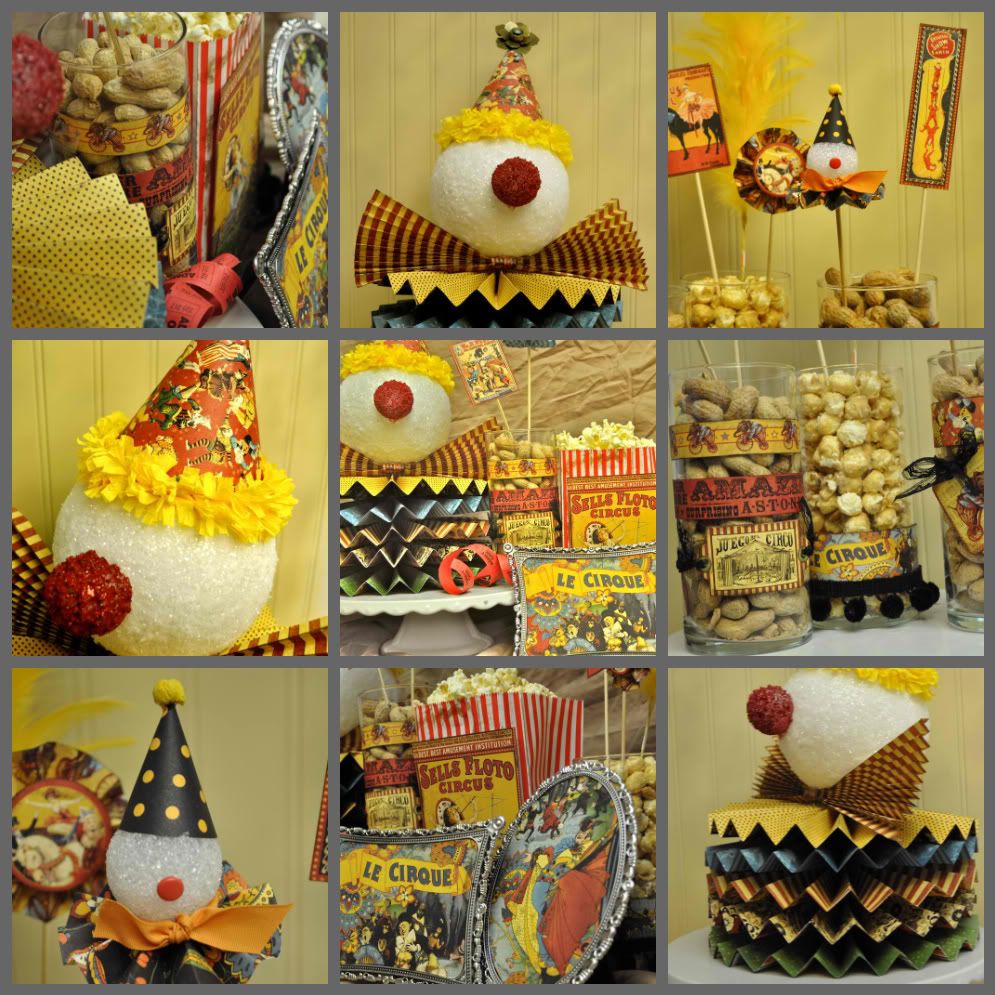
To create this piece:
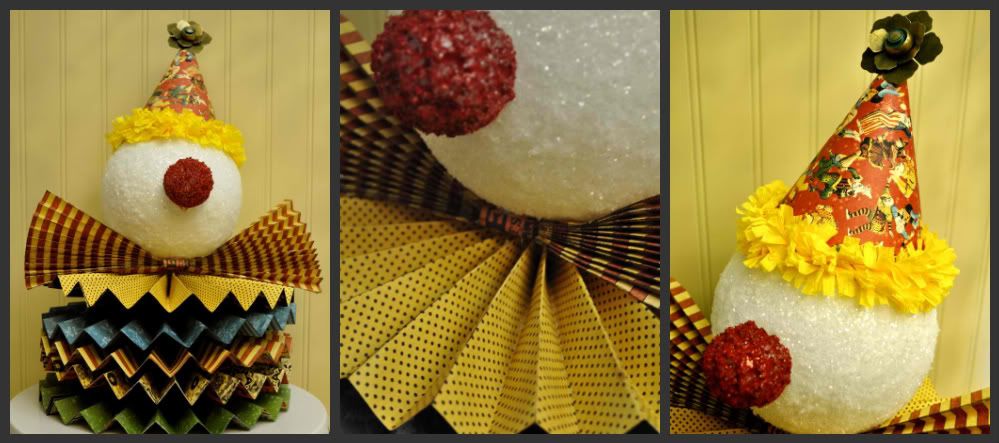
1. Make 5 accordion folded circles (see tutorial in part 1). I made the circles from 5" strips and used 4 strips for each circle. After the circles were created, I hot glued them together with a skewer down the center.
2. Paint Styrofoam ball with craft glue and apply crystal glitter to add shimmer.
3. Attach head to skewer and secure with hot glue.
4. Paint a smaller styrofoam ball red. Cut off the base (level for better adhering) and hot glue it to the clown face.
5. Make a matching hat (tutorial in part 1) and secure it to the clowns head using hot glue.
6. Make a bow tie by accordion folding one 12X12 paper in 1/2" folds. Wrap a coordinating piece of paper around the center of the accordion and adhere.
7. Tuck bow tie under clown head.
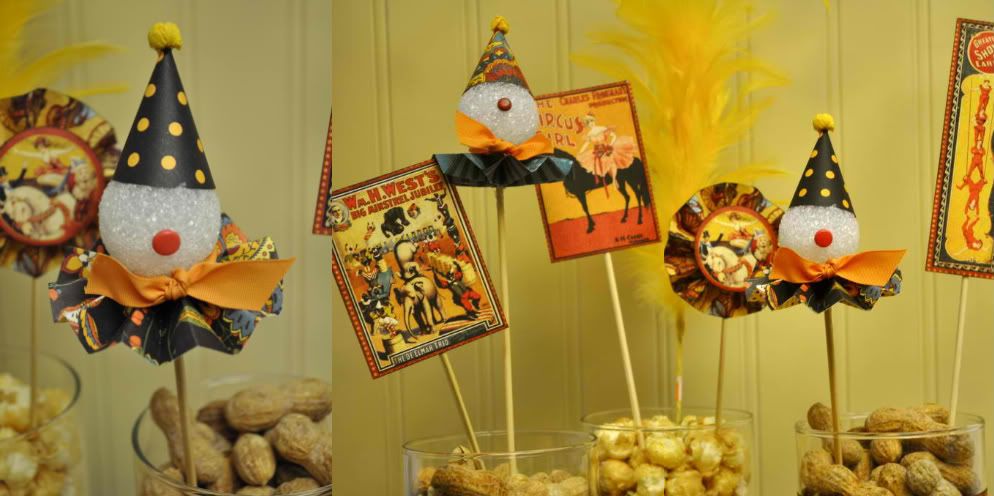
I used a similar process to create the baby clown picks for the treat jars. For the baby clowns, I created an accordion circle from a 1.25" strip of 12X12 paper folded in 1/4" intervals. The rest of the picks the were so quick and easy. I just cut apart one of the pages and adhered each picture to a skewer. For dramatic effect, I threw in a bright feather plume. Simple, inexpensive and yet, show stopping!
No comments:
Post a Comment