
Cupcake Hints-
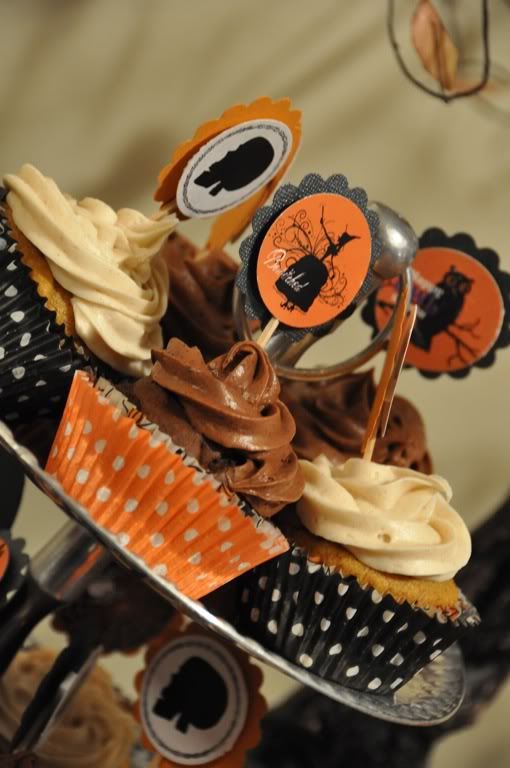
-Use an extra large star tip and a pastry bag to frost cupcakes
-Use a plain cupcake liner to bake the cupcake, then place the cooked cupcake into another decorative liner after it has cooled.
Pumpkin Cupcakes
-Use an extra large star tip and a pastry bag to frost cupcakes
-Use a plain cupcake liner to bake the cupcake, then place the cooked cupcake into another decorative liner after it has cooled.
Ingredients
2 1/4 cups all-purpose flour
1 teaspoon ground cinnamon
1/2 heaping teaspoon ground nutmeg
1/2 heaping teaspoon ground ginger
1/2 heaping teaspoon ground cloves
1/2 heaping teaspoon ground allspice
1/2 teaspoon salt
1 tablespoon baking powder
1/2 teaspoon baking soda
1/2 cup vegetable oil
1 cup white sugar
1/3 cup brown sugar
2 eggs
3/4 cup half and half
1 1/4 cup pumpkin puree
1/4 cup applesauce
Cinnamon Cream Cheese Frosting
1 (8 ounce) package cream cheese, softened
1/4 cup butter, softened
1/4 heavy whipping cream
3 cups confectioners' sugar
1 teaspoon vanilla extract
1 teaspoon ground cinnamon
Directions
- Preheat an oven to 350 degrees F. Grease 24 muffin cups, or line with paper muffin liners. Sift together the flour, 1 teaspoon cinnamon, nutmeg, ginger, clove, allspice, salt, baking powder, and baking soda; set aside.
- Beat oil, the white sugar, and brown sugar with an electric mixer in a large bowl until light and fluffy. The mixture should be noticeably lighter in color. Add the eggs one at a time, allowing each egg to blend into the mixture before adding the next. Stir in the half and half, applesauce and pumpkin puree after the last egg. Stir in the flour mixture, mixing until just incorporated. Pour the batter into the prepared muffin cups.
- Bake in the preheated oven until golden and the tops spring back when lightly pressed, about 20 minutes. Cool in the pans for 5 minutes before removing to cool completely on a wire rack.
- While the cupcakes are cooling, make the frosting by beating the cream cheese and 1/4 butter with an electric mixer in a bowl until smooth. Beat in the confectioners' sugar a little at a time until incorporated. Add the vanilla extract and 1 teaspoon ground cinnamon; beat until fluffy. Once the cupcakes are cool, frost with the cream cheese icing.
Chocolate Pumpkin Cupcakes
Ingredients
1 (18.25 ounce) package chocolate cake mix
1 (15 ounce) can pumpkin
1/4 cup water
2 eggs
2 tablespoons vegetable oil
Pumpkin pie spice as desired
Chocolate Cream Cheese Frosting
3/4 (6 ounces) package cream cheese, softened
1/4 cup butter, softened
1/4 heavy whipping cream
1 cup cocoa
3 cups confectioners' sugar
1 teaspoon vanilla extract
Directions
- Preheat the oven to 350 degrees F (175 degrees C). Grease or line cupcake tins.
- In a large bowl, mix the cake mix, pumpkin, eggs and oil for 3 minutes using a mixer on medium speed. Pour into the prepared pan and spread evenly.
- Bake for 20 minutes in the preheated oven, or until a toothpick inserted in the center comes out clean. Cool, then frost with cream cheese frosting.
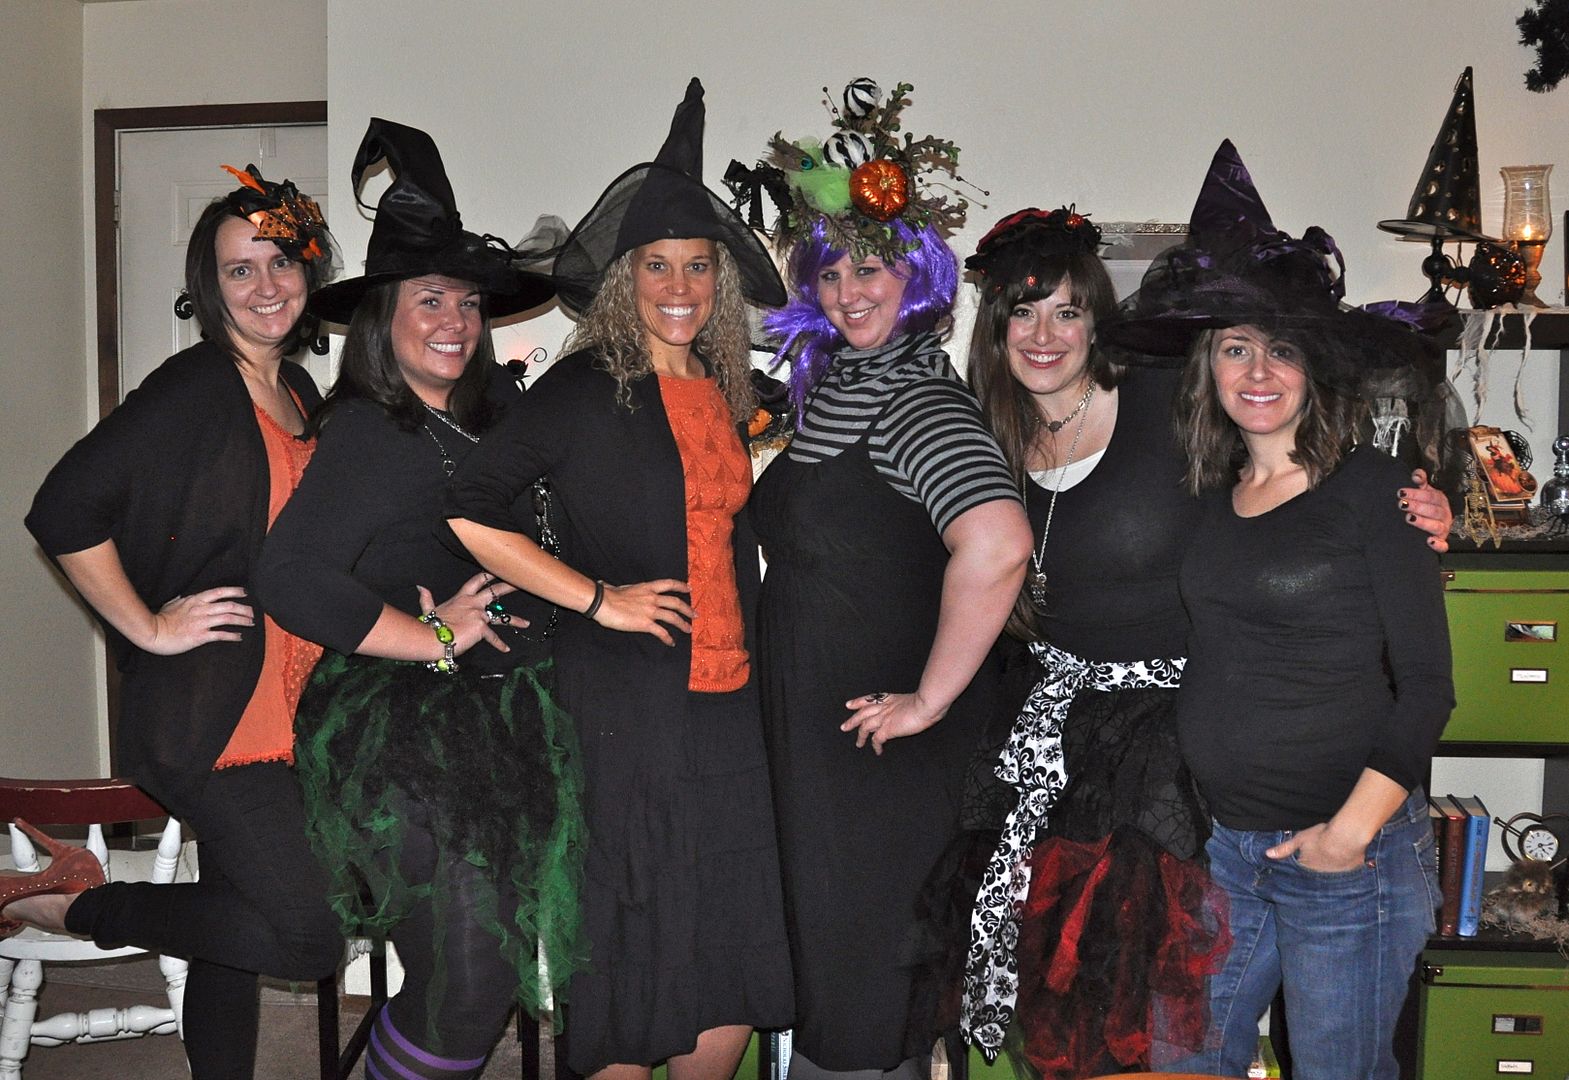
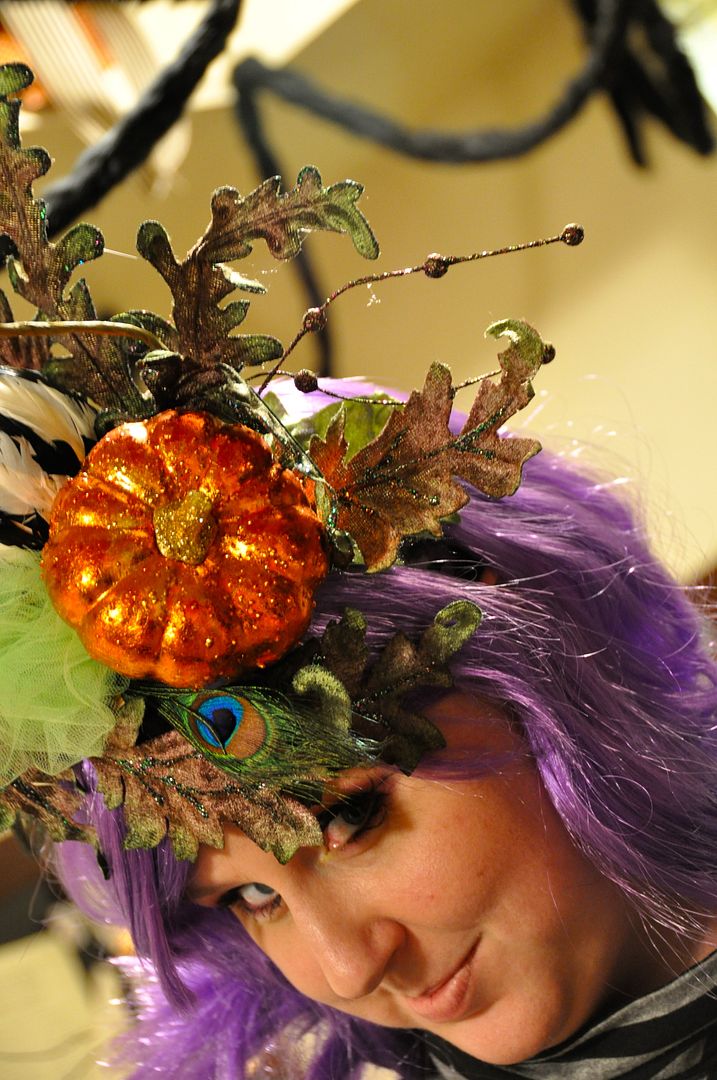
We had some great witches outfits, but I believe the greatest hat award went to my friend Kirsten who created this beautiful headpiece with a selection of florals adhered to a headband.
Hope you all have a wonderful Halloween tomorrow! Watch out for the tricks and eat lots of treats!