Showing posts with label Cardmaking. Show all posts

Thursday, December 1, 2011

Merry Greetings

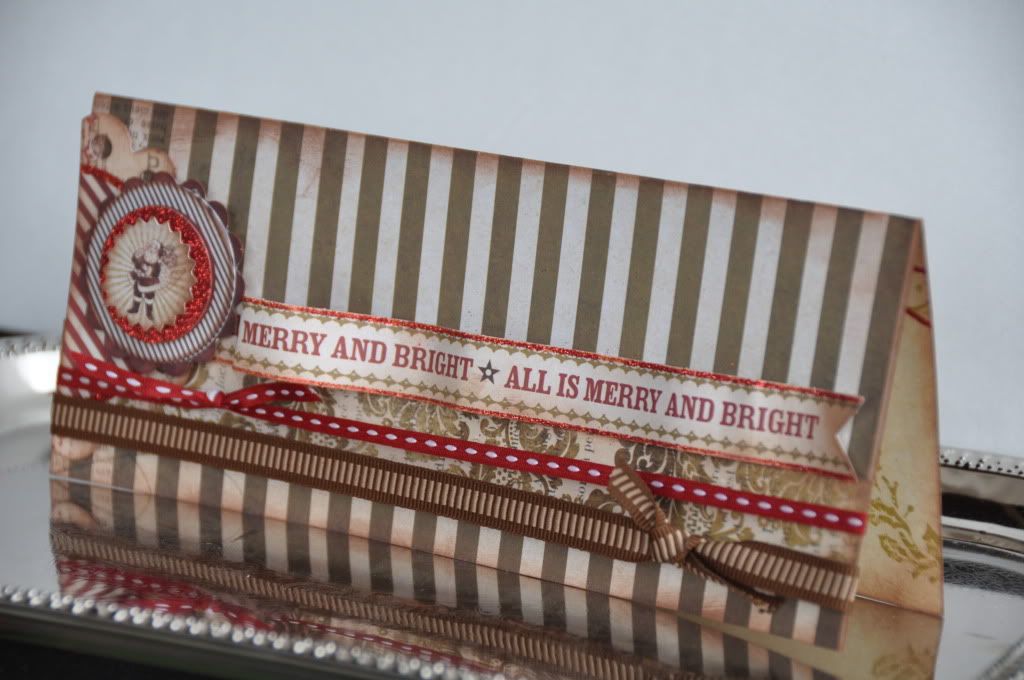
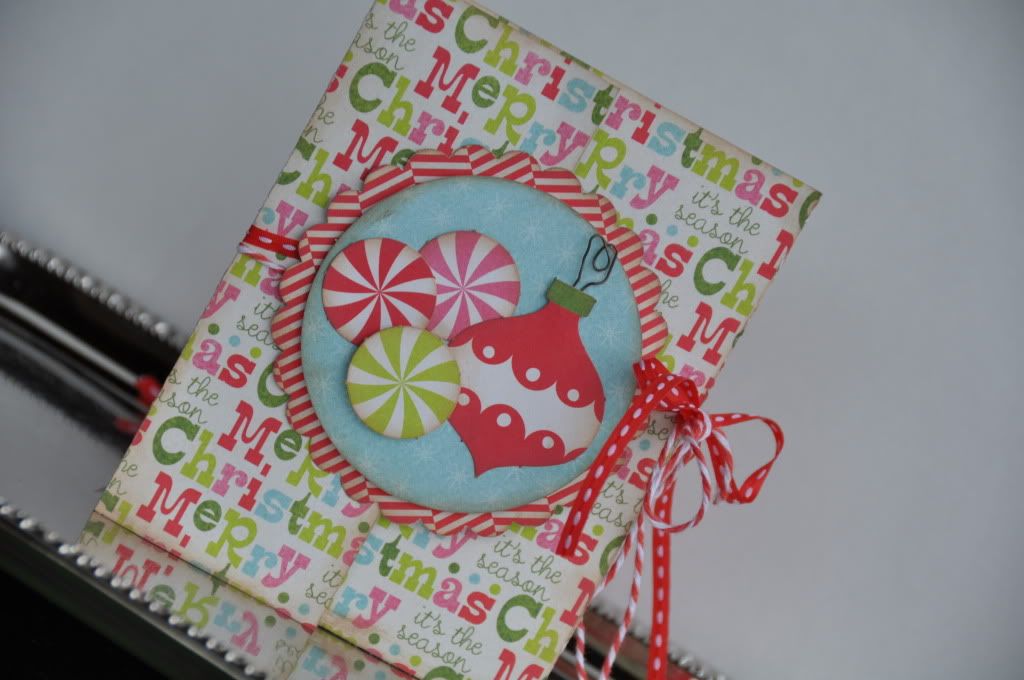
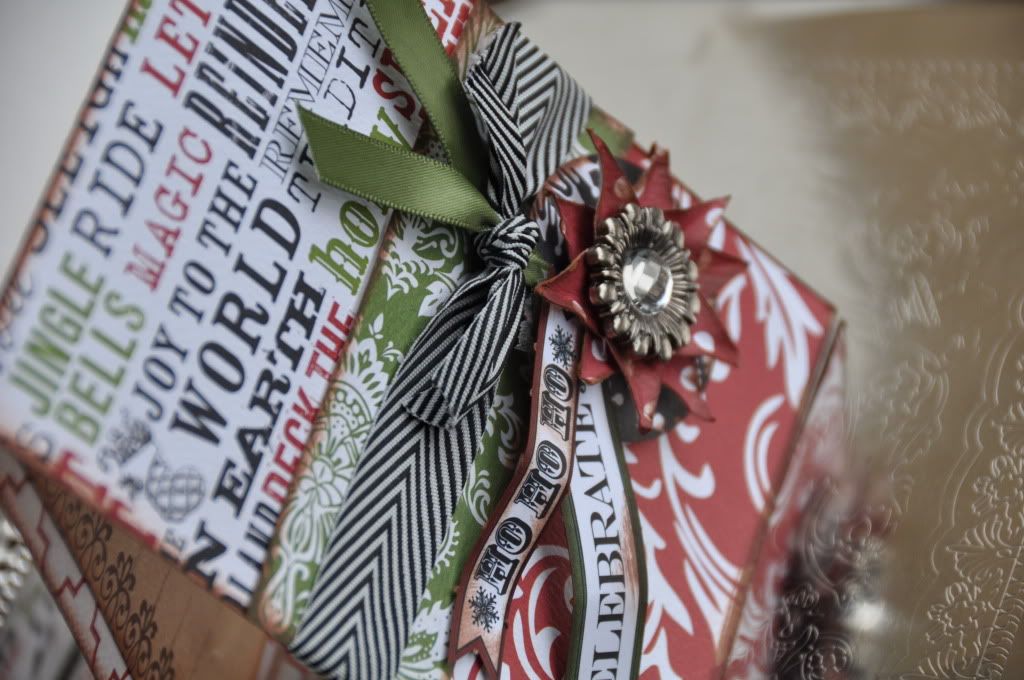
The last time I was on Studio 5, I was making Christmas cards.  I thought I would share those cards with you today.  Hopefully you are busy working on your greetings as well!
My Mind's Eye "12 Days"
Teresa Collins "Tis the Season"
My Mind's Eye "Lost and Found Christmas"


Merry Greetings

The last time I was on Studio 5, I was making Christmas cards.  I thought I would share those cards with you today.  Hopefully you are busy working on your greetings as well!
My Mind's Eye "12 Days"
Teresa Collins "Tis the Season"
My Mind's Eye "Lost and Found Christmas"


Saturday, May 14, 2011

Summer Card Kit $15(FREE SHIPPING)

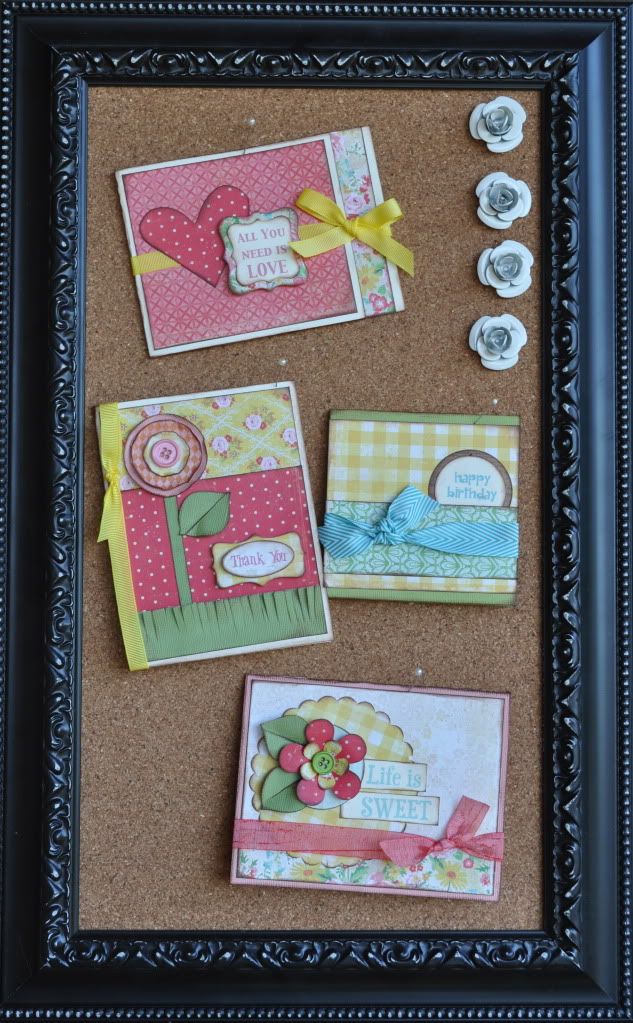
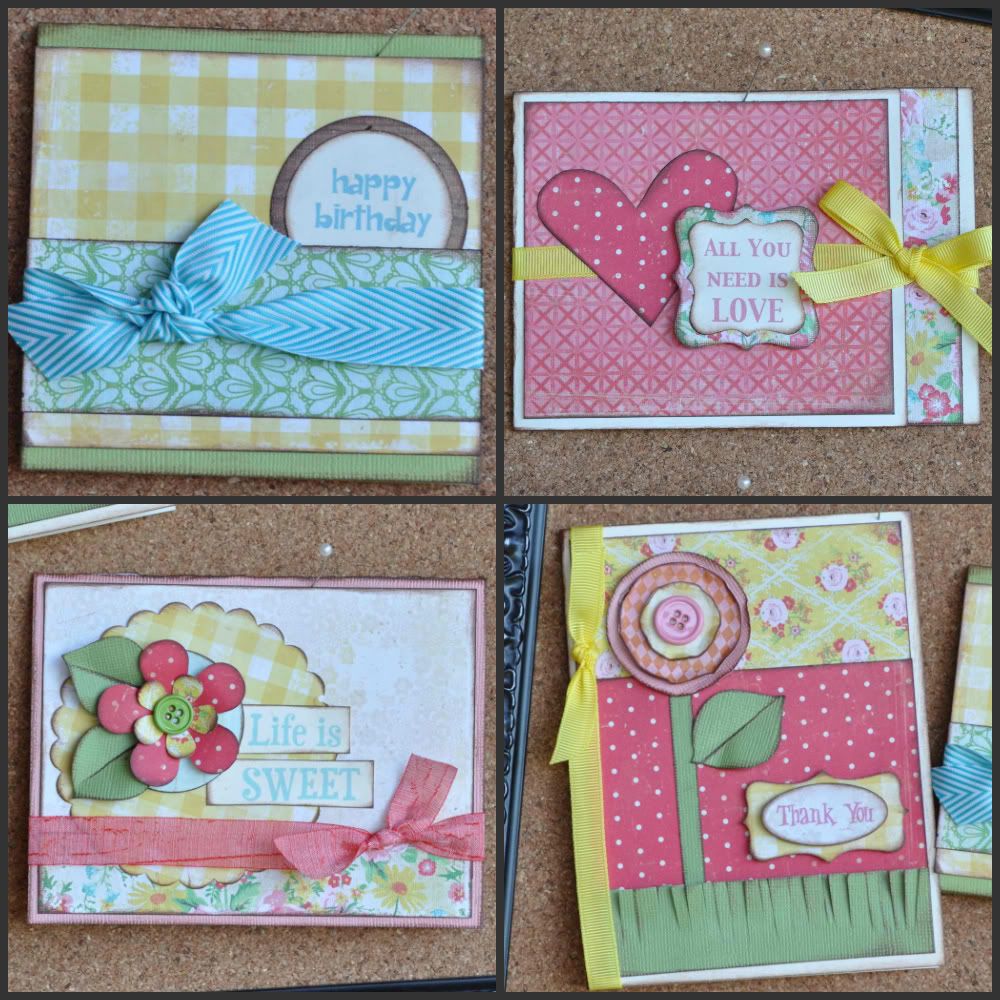
I happened to be in a card making mood today.  After I made several bright, summery cards, I thought it might be fun to offer them as a kit.

This kit comes with everything you need (cut to size of course) to make these 4 cheery greetings.  You will also get 4 envelopes along with your cards.  As always, you will get color pictures and instructions so that you can easily assemble your creations.

This complete kit is only $15 and it will ship directly to your doorstep for FREE! (US Only).  Kits are limited to the first 12 paid orders, so order now to be sure you get on the list.  Kits will start shipping Tuesday, May 17th.  Any orders placed after May 17th will ship out within 24 hours.

Summer Card Kit $15(FREE SHIPPING)

I happened to be in a card making mood today.  After I made several bright, summery cards, I thought it might be fun to offer them as a kit.

This kit comes with everything you need (cut to size of course) to make these 4 cheery greetings.  You will also get 4 envelopes along with your cards.  As always, you will get color pictures and instructions so that you can easily assemble your creations.

This complete kit is only $15 and it will ship directly to your doorstep for FREE! (US Only).  Kits are limited to the first 12 paid orders, so order now to be sure you get on the list.  Kits will start shipping Tuesday, May 17th.  Any orders placed after May 17th will ship out within 24 hours.

Thursday, May 5, 2011

Sketching for Mother's Day

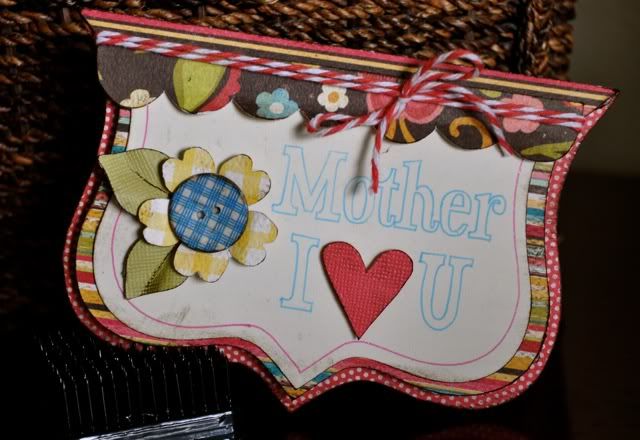
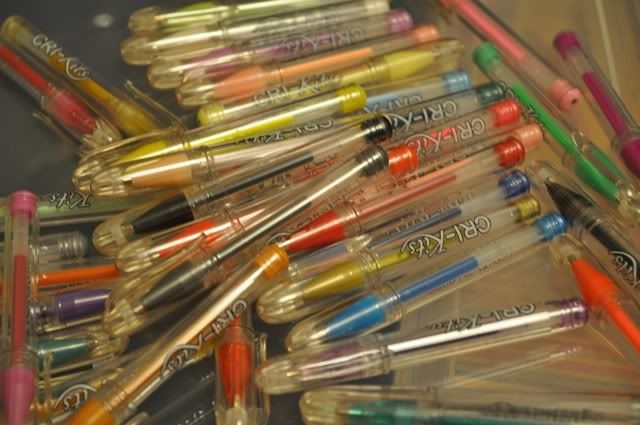
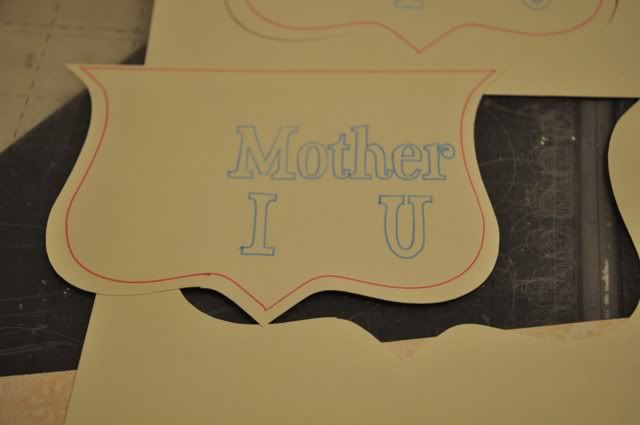
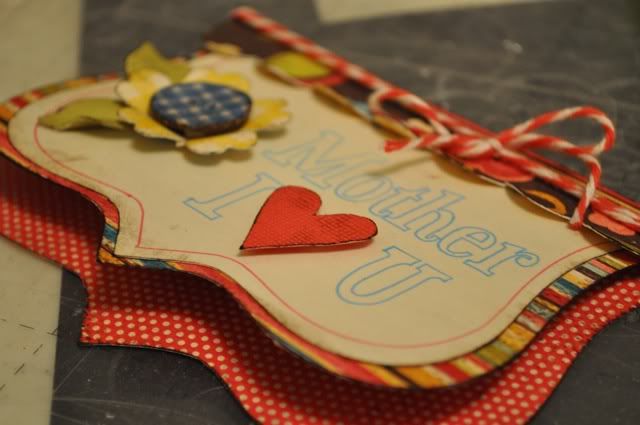
I finally got a chance to sit down and get to work on my Mother's Day cards.  I have been dying to try some sketching with my Silhouette and I thought this would be a perfect opportunity.  I recently got a whole collection of 40 beautiful gel pens from Cri-Kit. I almost felt like a kid in a candy shop as I opened up the boxes and started to play! I love the mix of pastel, glitter, metallic and bright colors that are available.  It was so great to be able to match the ink color perfectly with my patterned paper.
Here are the steps for creating a card like the one I made:
1. Design the entire card in your Silhouette software. I like to size out my whole card before I start cutting.  Once the pieces are all laid out, I separate each piece and cut it individually.
2. Cut all of the pieces that don't need to be sketched.
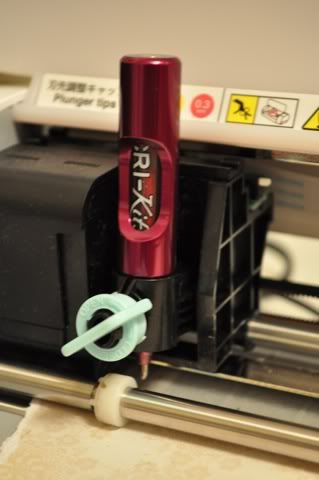
3. Choose your pen and set up your machine for sketching. The Cri-Kit system is super easy to assemble.  All you have to do is drop the desired pen into the holder.  Remove the blade and pop in the sketch holder with pen.
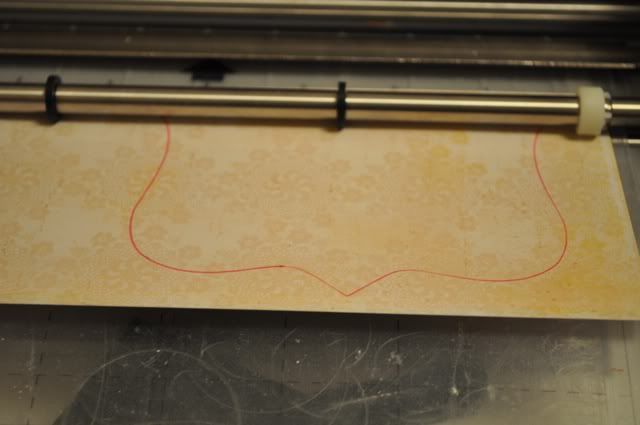
4. To sketch, layout the entire piece that you will be sketching and cutting.  Select the Cut Style button (it looks like a little pair of scissors cutting a line). Turn off all of the cutting by selecting all of the objects and clicking on "No Cut". Then select the first images you want to sketch and select "Cut". Then select the cut button and continue as you normally would.

5. Continue to sketch additional colors as desired by selecting the no cut and cut buttons.  Do not remove your mat from the silhouette during this process.  As long as your mat stays in place, your objects will be sketched or cut in the correct position.
6. Once you are done sketching, remove the sketching pen and put the blade back in. Select the outer edge that you want to cut and cut as normal. Remember, do not remove the mat before cutting.
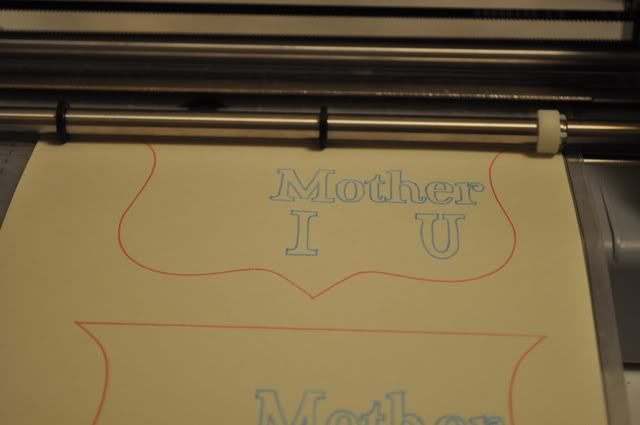
I used the glitter blue pen for the wording...gotta love the sparkle and glitz!
8.Once all of the pieces are sketched and cut, assemble the card as normal.  

I loved playing at this new, fun way to use my Silhouette.  It gives such a unique look.  For more information about the Cri-Kit pens, visit their site.  So, what is my next sketching project? I am definitely going to be trying some of the pastel pens on dark paper.  Ooh La La!


Sketching for Mother's Day

I finally got a chance to sit down and get to work on my Mother's Day cards.  I have been dying to try some sketching with my Silhouette and I thought this would be a perfect opportunity.  I recently got a whole collection of 40 beautiful gel pens from Cri-Kit. I almost felt like a kid in a candy shop as I opened up the boxes and started to play! I love the mix of pastel, glitter, metallic and bright colors that are available.  It was so great to be able to match the ink color perfectly with my patterned paper.
Here are the steps for creating a card like the one I made:
1. Design the entire card in your Silhouette software. I like to size out my whole card before I start cutting.  Once the pieces are all laid out, I separate each piece and cut it individually.
2. Cut all of the pieces that don't need to be sketched.
3. Choose your pen and set up your machine for sketching. The Cri-Kit system is super easy to assemble.  All you have to do is drop the desired pen into the holder.  Remove the blade and pop in the sketch holder with pen.
4. To sketch, layout the entire piece that you will be sketching and cutting.  Select the Cut Style button (it looks like a little pair of scissors cutting a line). Turn off all of the cutting by selecting all of the objects and clicking on "No Cut". Then select the first images you want to sketch and select "Cut". Then select the cut button and continue as you normally would.

5. Continue to sketch additional colors as desired by selecting the no cut and cut buttons.  Do not remove your mat from the silhouette during this process.  As long as your mat stays in place, your objects will be sketched or cut in the correct position.
6. Once you are done sketching, remove the sketching pen and put the blade back in. Select the outer edge that you want to cut and cut as normal. Remember, do not remove the mat before cutting.
I used the glitter blue pen for the wording...gotta love the sparkle and glitz!
8.Once all of the pieces are sketched and cut, assemble the card as normal.  

I loved playing at this new, fun way to use my Silhouette.  It gives such a unique look.  For more information about the Cri-Kit pens, visit their site.  So, what is my next sketching project? I am definitely going to be trying some of the pastel pens on dark paper.  Ooh La La!


Thursday, April 28, 2011

Mother's Day Cards and Oreos

My clock currently reads 2:40 am.  I have finally decided to get up out of bed and start crafting (as opposed to lying sleepless in bed thinking about crafting!) I may have also just caved and eaten 3 Oreos...make that 5 Oreos. I have so many projects and ideas running through my head tonight, but a combination of cardmaking and Mother's Day are coming to the surface.  I thought I would share a few of my favorite Mother's Day cards that I have found in my inspiration hunt.
Love the idea of the momma bird with the babies.  So cute.
The pop up butterflies give this card so much dimension.  I also love the use of the fence border punch.

If you are looking to go the vintage route with your cards this year, here are a few images that I love. Feel free to print them out and use them on your creations.
I am full of ideas, now I am off to get to the actual crafting part... and possibly some sleep.

Mother's Day Cards and Oreos

My clock currently reads 2:40 am.  I have finally decided to get up out of bed and start crafting (as opposed to lying sleepless in bed thinking about crafting!) I may have also just caved and eaten 3 Oreos...make that 5 Oreos. I have so many projects and ideas running through my head tonight, but a combination of cardmaking and Mother's Day are coming to the surface.  I thought I would share a few of my favorite Mother's Day cards that I have found in my inspiration hunt.
Love the idea of the momma bird with the babies.  So cute.
The pop up butterflies give this card so much dimension.  I also love the use of the fence border punch.

If you are looking to go the vintage route with your cards this year, here are a few images that I love. Feel free to print them out and use them on your creations.
I am full of ideas, now I am off to get to the actual crafting part... and possibly some sleep.

Saturday, April 9, 2011

Easter Vintage Clip Art

Easter is officially two weeks from tomorrow.  To me, that means three major things:
1. It is time to get cracking on my Easter cards and mail them out to friends and family.
2. I need to find an adorable dress for Easter Sunday!
3. I must stock my candy jar with all of the delicious Easter treats that will soon be vanishing from the store shelves (this year I am completely addicted to the Reeses Easter Eggs-I want to attempt making my own)

I thought I would start working on thing #1 today by finding some fun vintage clip art for my cards.  I can't wait to use these happy images in my greetings. I also think they will make great Easter table decor...I am thinking place cards.
This image is so soft and pretty, it will look great with some lace and bling!
You know I am a color non-traditionalist!  I am tempted to dye all of my Easter Eggs red just because of this image.
I like all of the color variety in this image. It would be fun to pull out the purple.
This card is basically done for you. Just add a background cardstock and perhaps a ribbon and you will have a fabulous greeting to share with a loved one.
Doesn't this make you want to be sitting on a lovely garden table in a large sun hat and a pastel floral dress?

Easter Vintage Clip Art

Easter is officially two weeks from tomorrow.  To me, that means three major things:
1. It is time to get cracking on my Easter cards and mail them out to friends and family.
2. I need to find an adorable dress for Easter Sunday!
3. I must stock my candy jar with all of the delicious Easter treats that will soon be vanishing from the store shelves (this year I am completely addicted to the Reeses Easter Eggs-I want to attempt making my own)

I thought I would start working on thing #1 today by finding some fun vintage clip art for my cards.  I can't wait to use these happy images in my greetings. I also think they will make great Easter table decor...I am thinking place cards.
This image is so soft and pretty, it will look great with some lace and bling!
You know I am a color non-traditionalist!  I am tempted to dye all of my Easter Eggs red just because of this image.
I like all of the color variety in this image. It would be fun to pull out the purple.
This card is basically done for you. Just add a background cardstock and perhaps a ribbon and you will have a fabulous greeting to share with a loved one.
Doesn't this make you want to be sitting on a lovely garden table in a large sun hat and a pastel floral dress?