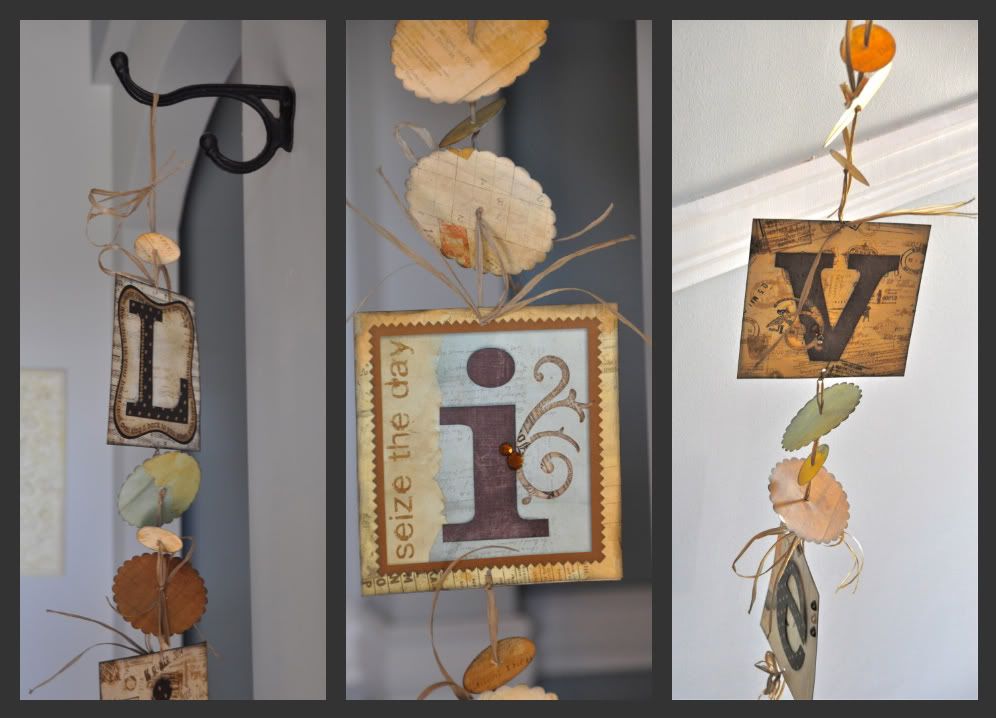
Vintage Dictionary Prints:
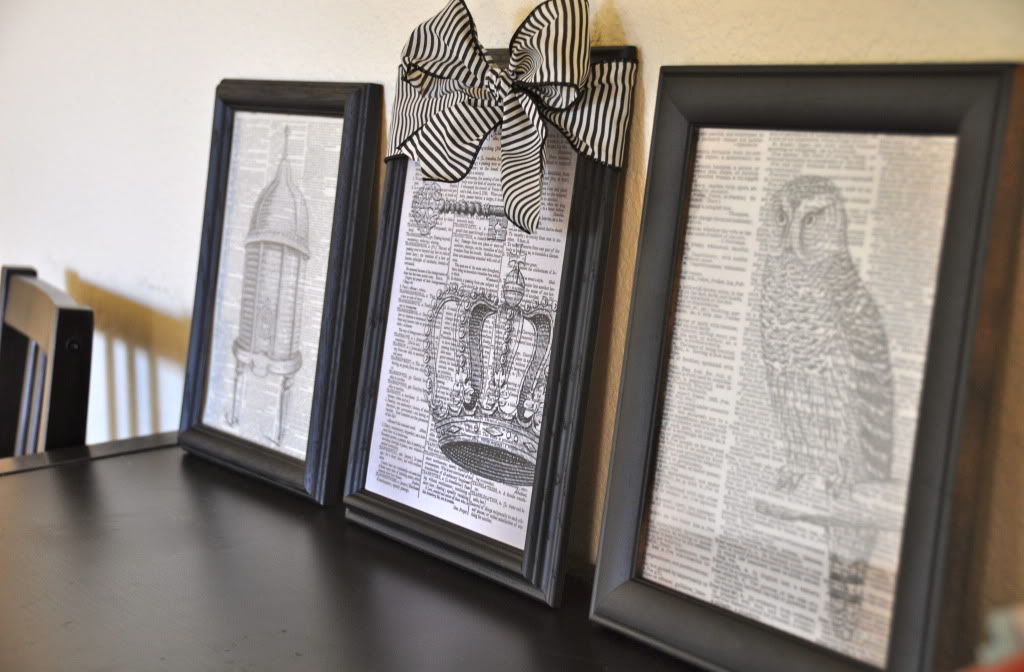
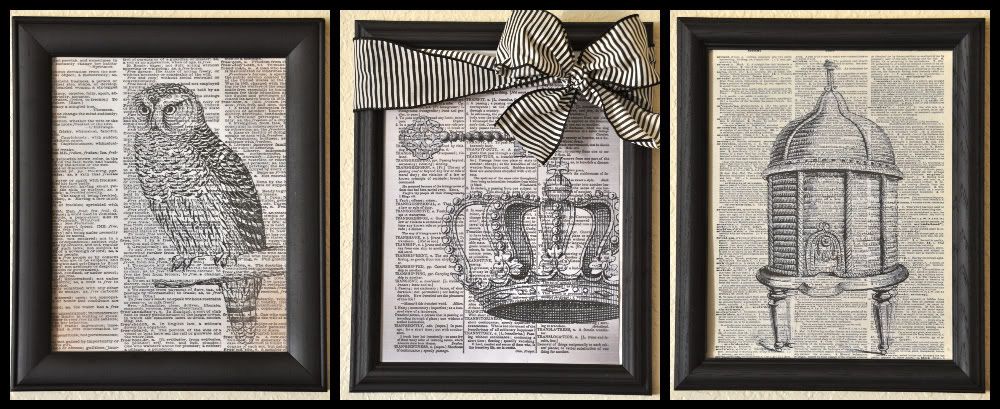
To make these fun designs, I googled free "dictionary prints" and "vintage clipart". I especially love the artwork at http://graphicsfairy.blogspot.com/. It is a great source for finding beautiful vintage prints. Once I downloaded images, I used Photoshop to layer the images and make them look a little distressed. If you don't have Photoshop or a similar editing program, I have included 6 my creations here for FREE!
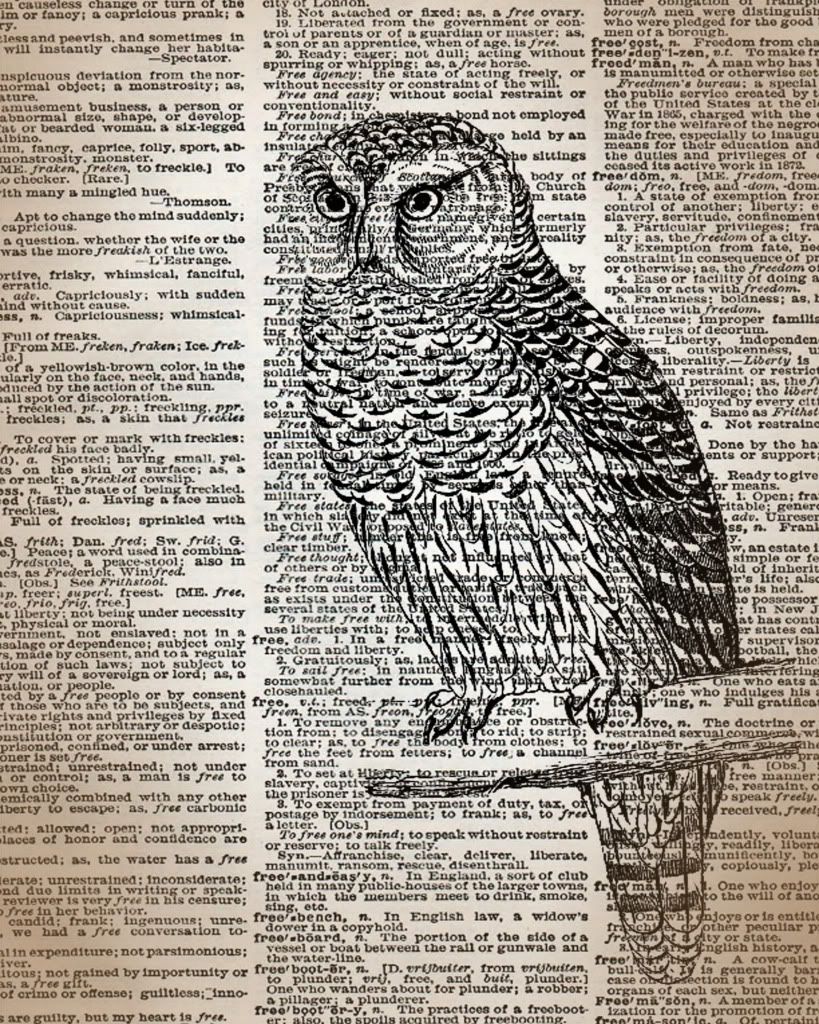 |
| Mr. Owl (of course) |
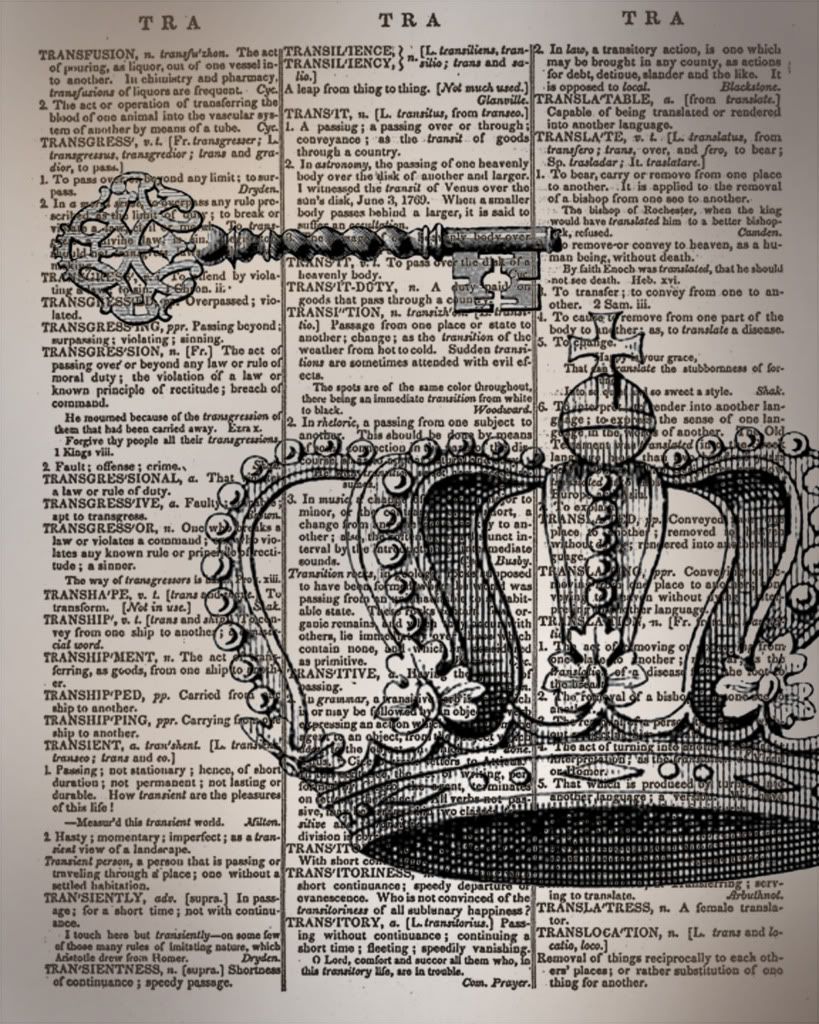 |
| A Royal Touch |
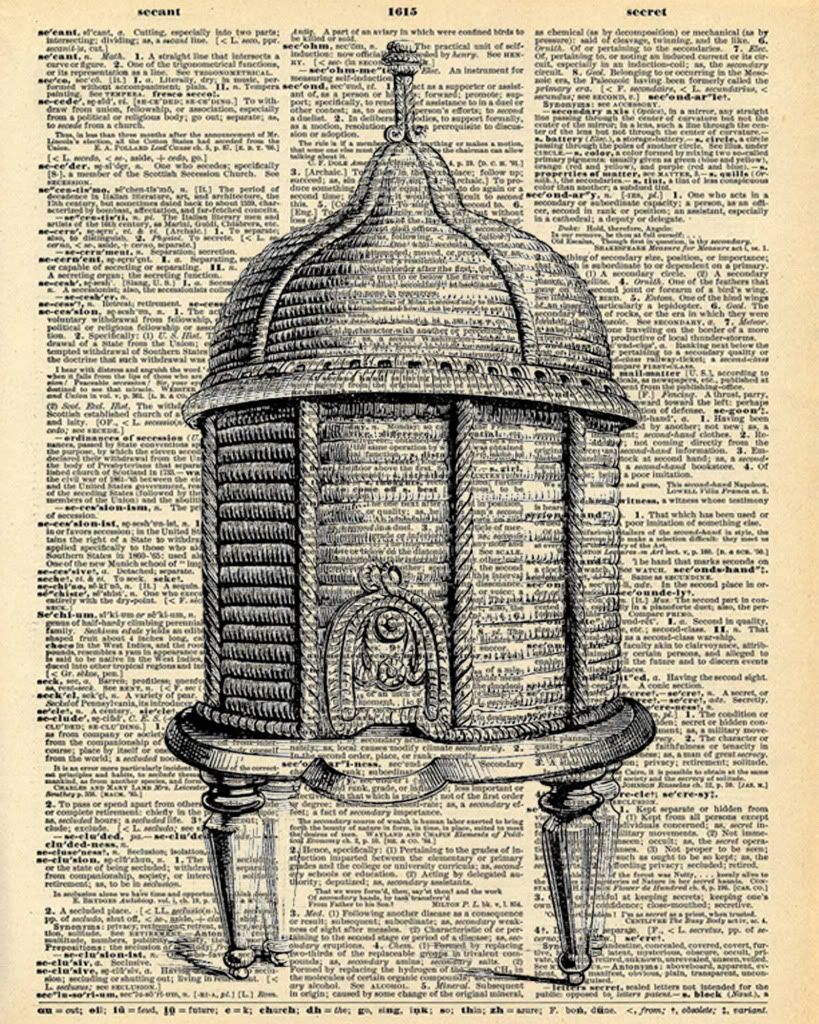 |
| The Beehive State |
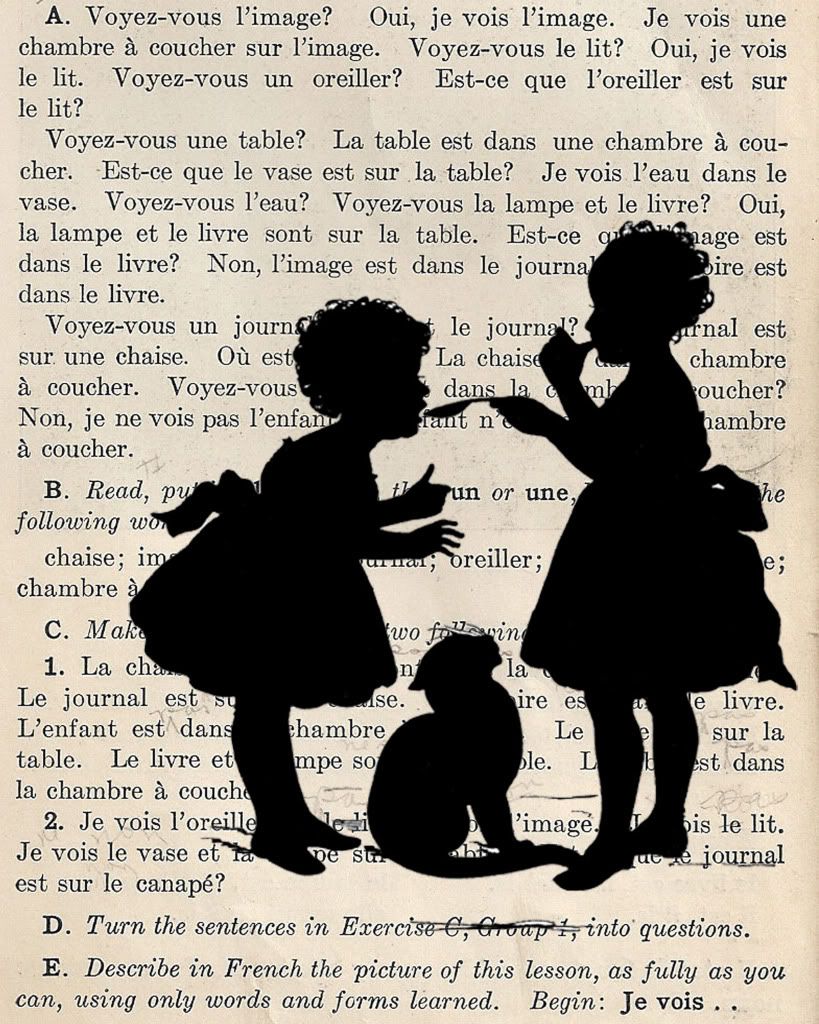 |
| Play Date |
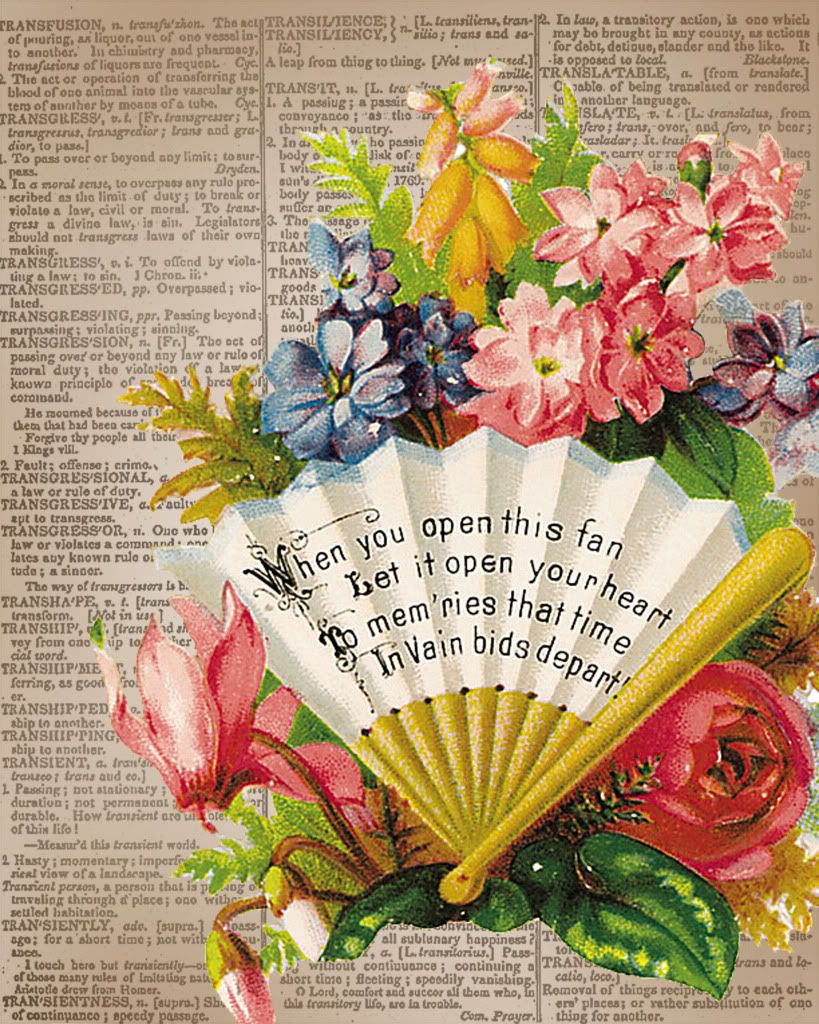 |
| Fanfare |
Folded Book Page Pillars:
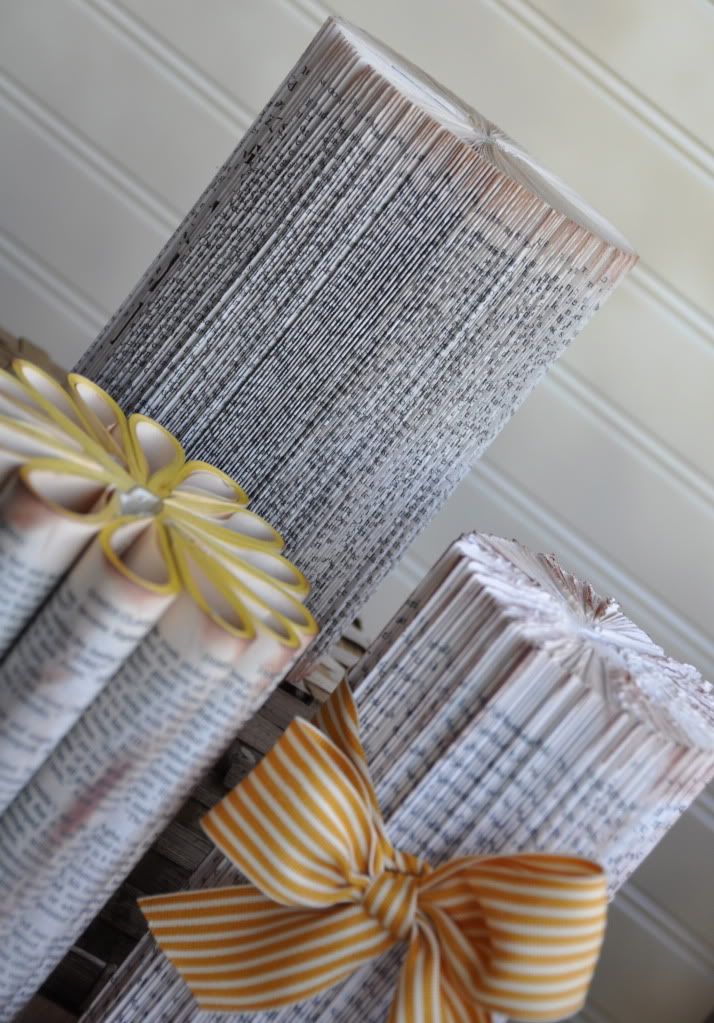
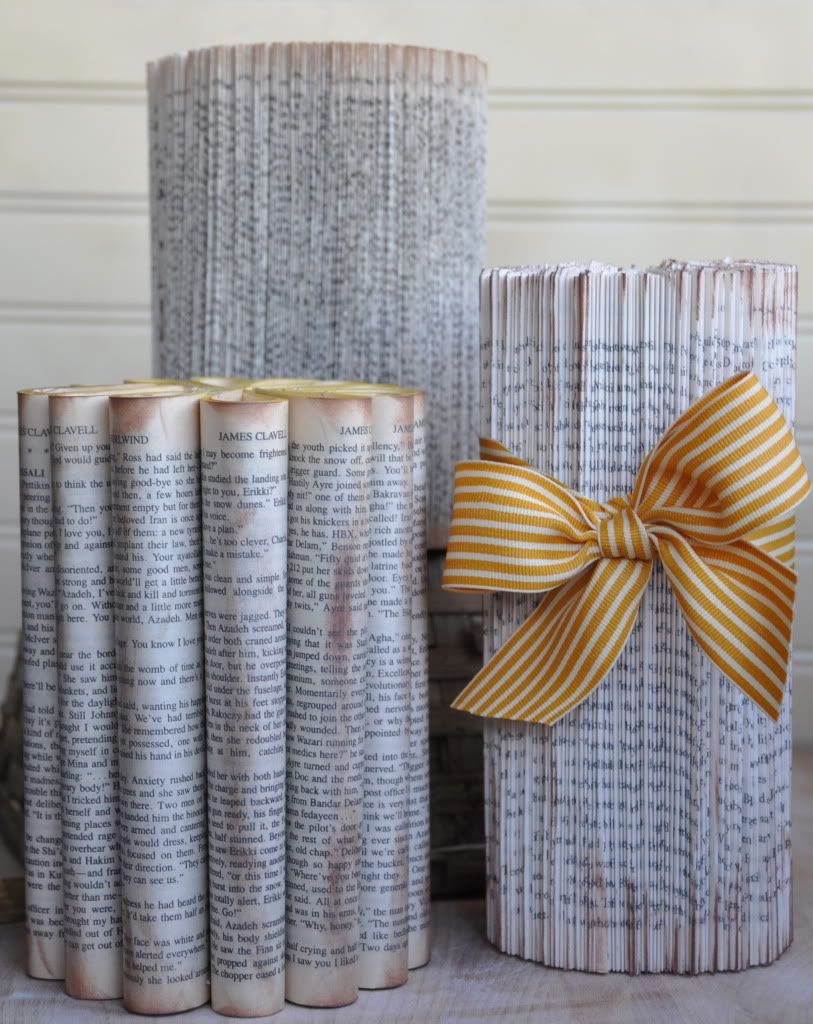
To create a book page pillar, you will need a paper back book with at least 300 pages. Begin by folding pages in half...and continue folding pages in half. That's it, that's all you have to do to create these fun pieces! Once all of your pages are folded, cut out the covers and hot glue the two edges together to create a cylinder. For books with less pages, try folding pages in half and then in half again. This will create a skinnier pillar.
To create the large loopy pillar, roll chunks (about 50-70 pages) of the book into the spine and hot glue into place. Continue rolling in pages until you have a complete cylinder.

Anything Goes with Mod Podge:

Tips for Mod Podging with Book Pages:
1. Less is more- because book pages are so thin, you really need to go light on the mod podge to create a smooth surface that doesn't bubble.
2. Allow for dry time- allow your pieces to dry completely before applying a top coat. This will help to reduce bubbling.
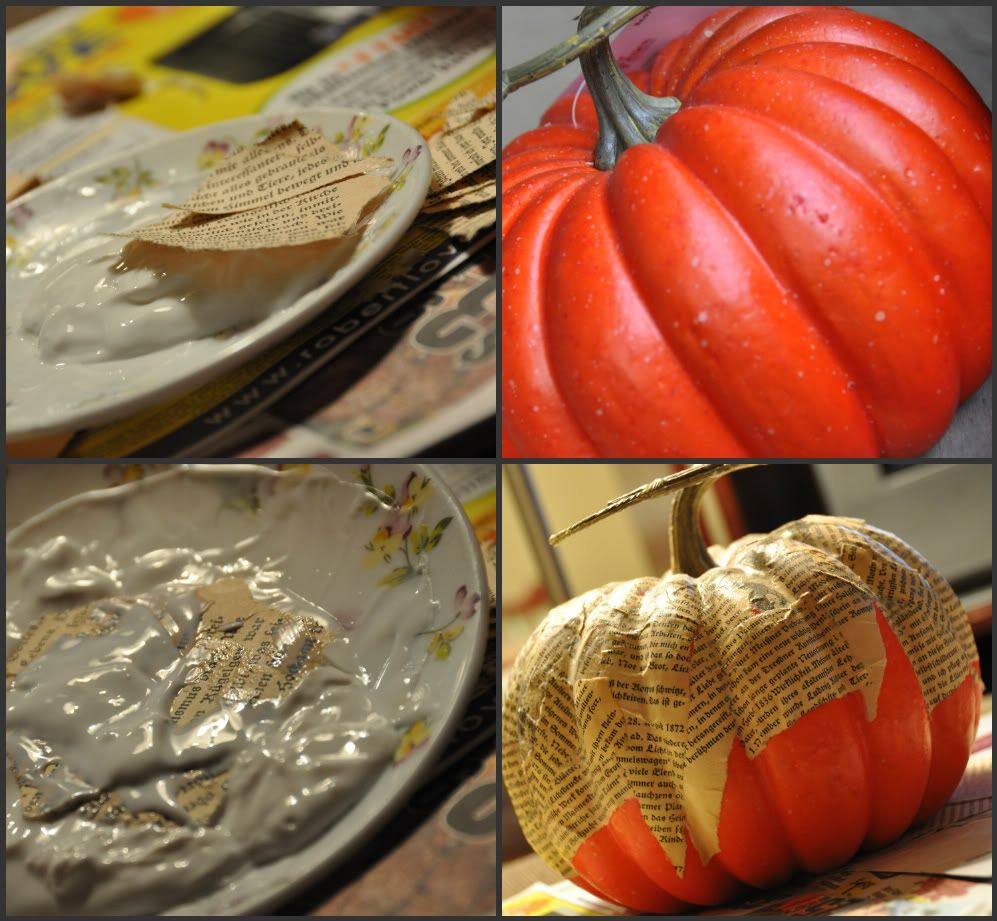
3. Go for a mosaic- tear apart book pages and apply them in random patterns to cover 3d or odd shaped pieces. To create the vintage pumpkin, randomly tear apart book pages, soak them in mod podge and press them onto your pumpkin. Keep your hands good and gluey so that you can rub and smooth pieces.
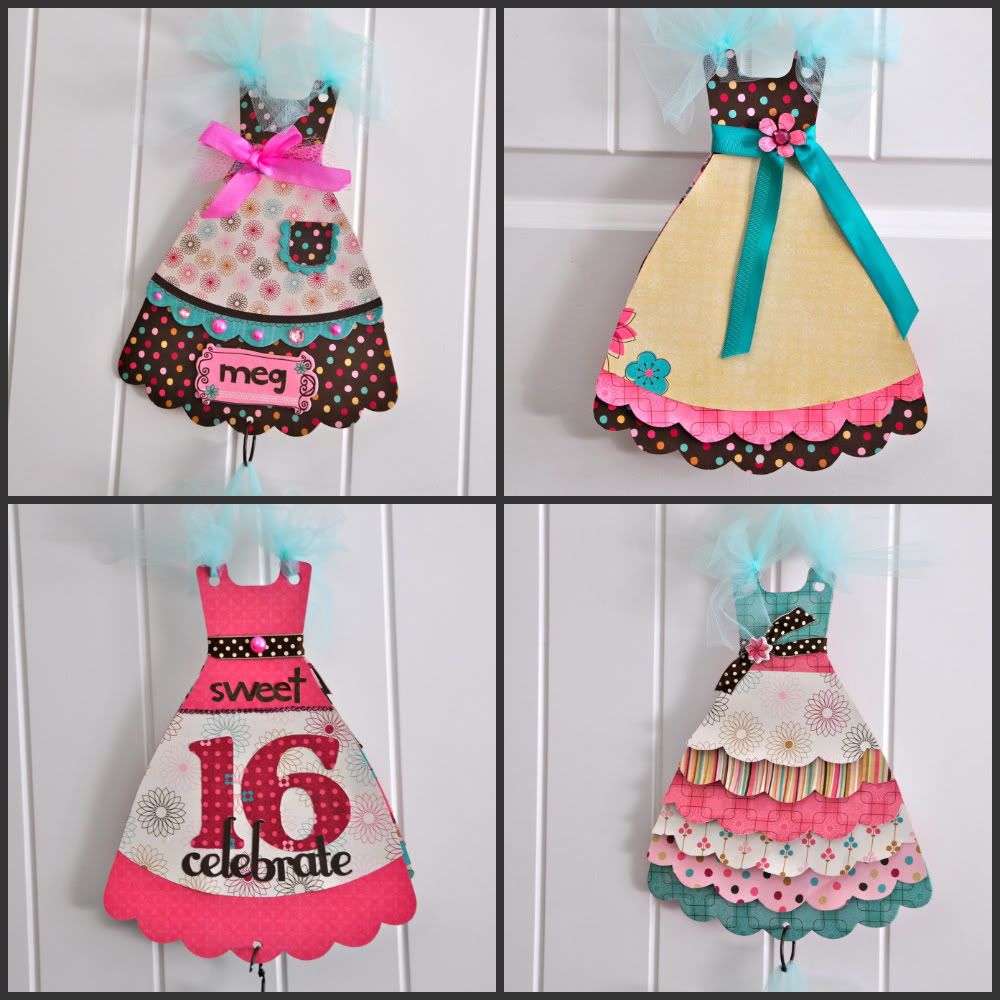
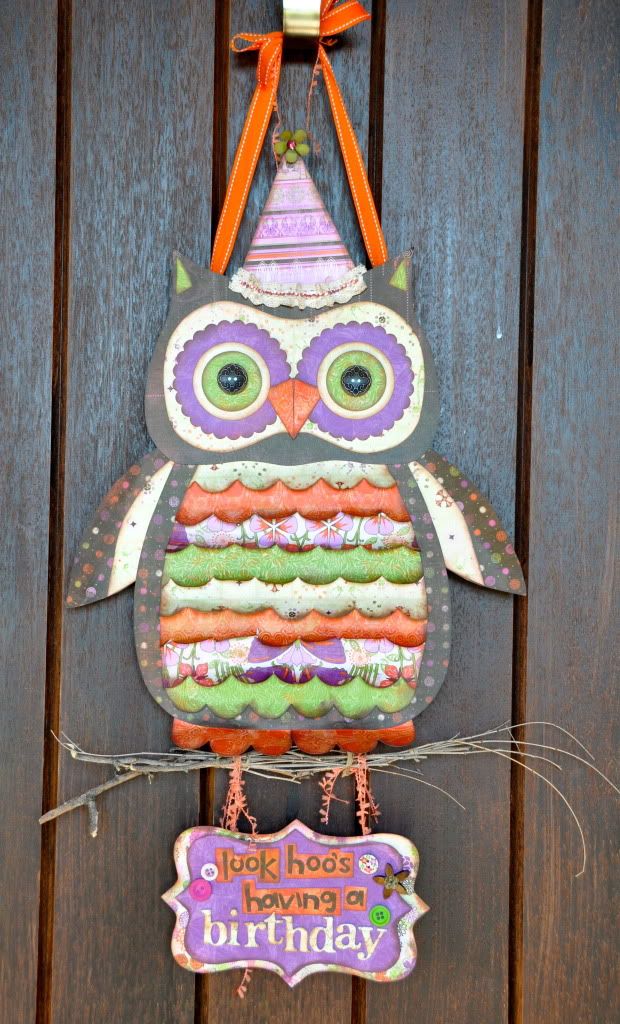
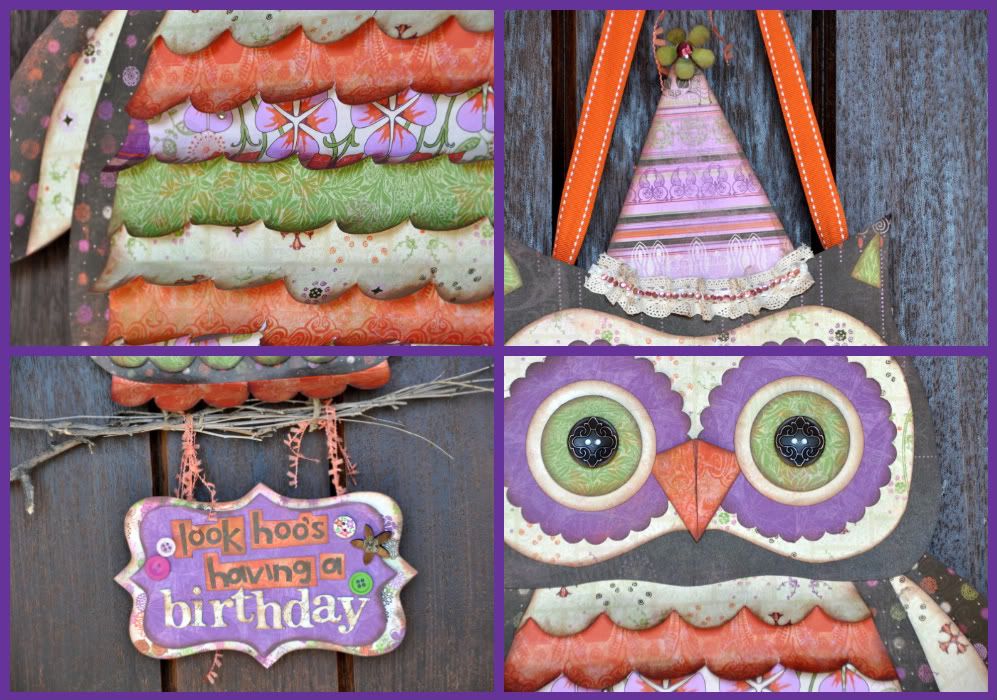
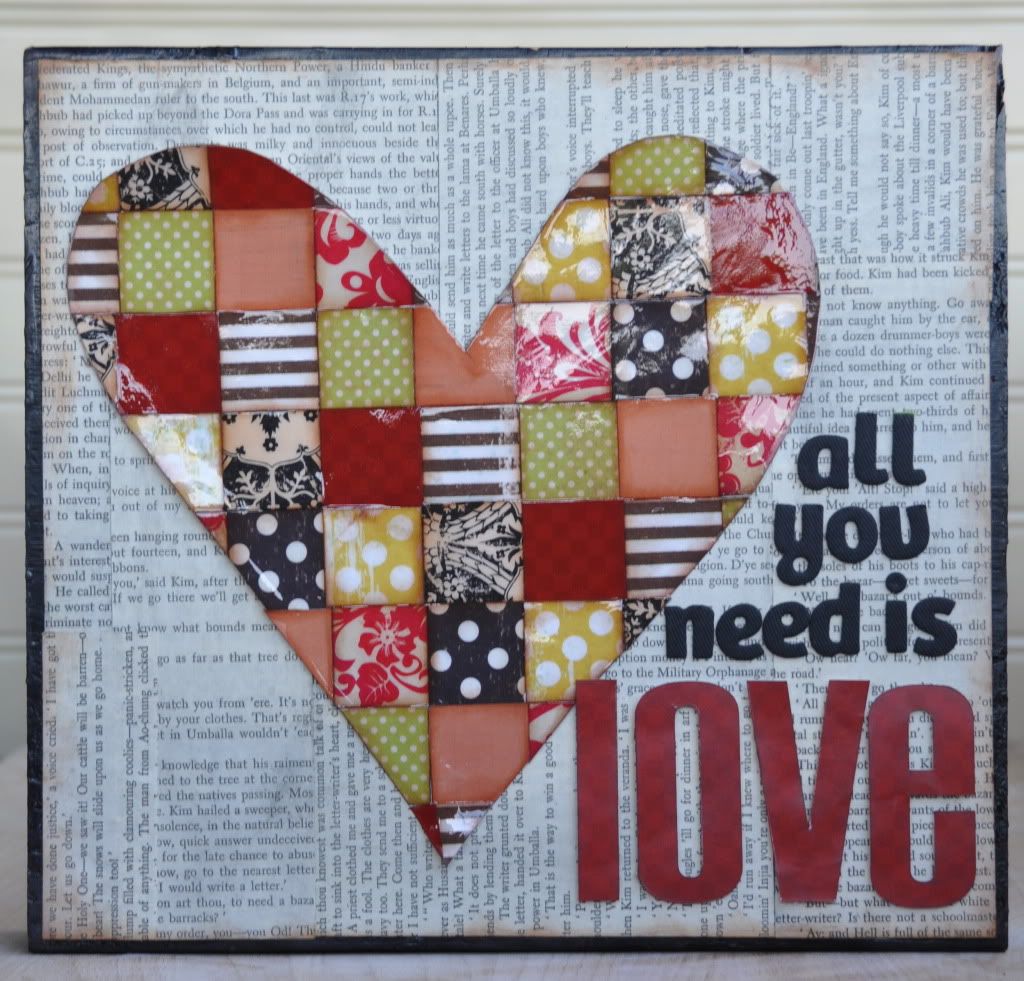
4. Background Basics- book pages make amazing backdrops for paper pieced art. They add more character than a plain piece of paper, but are subtle enough to sit in the background.
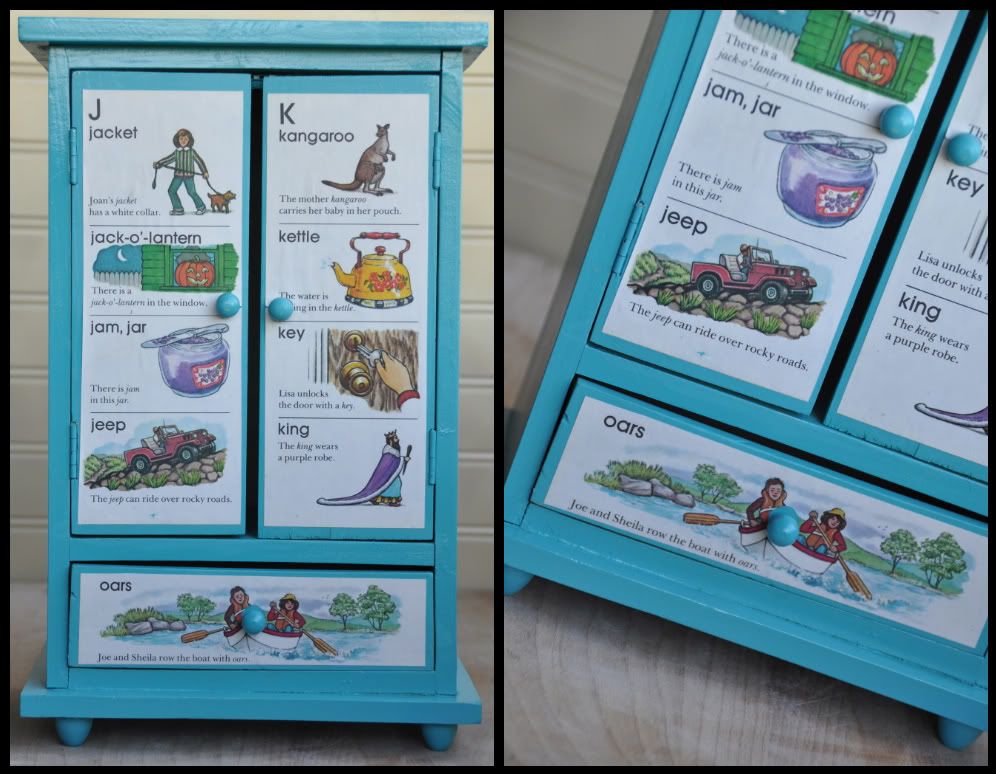
5. Bring on the Color-don't feel constrained to use simply black and white pages. Vintage children's books have adorable images that can create some really unique pieces. I used a kids alphabet book to create this fun jewelry box.